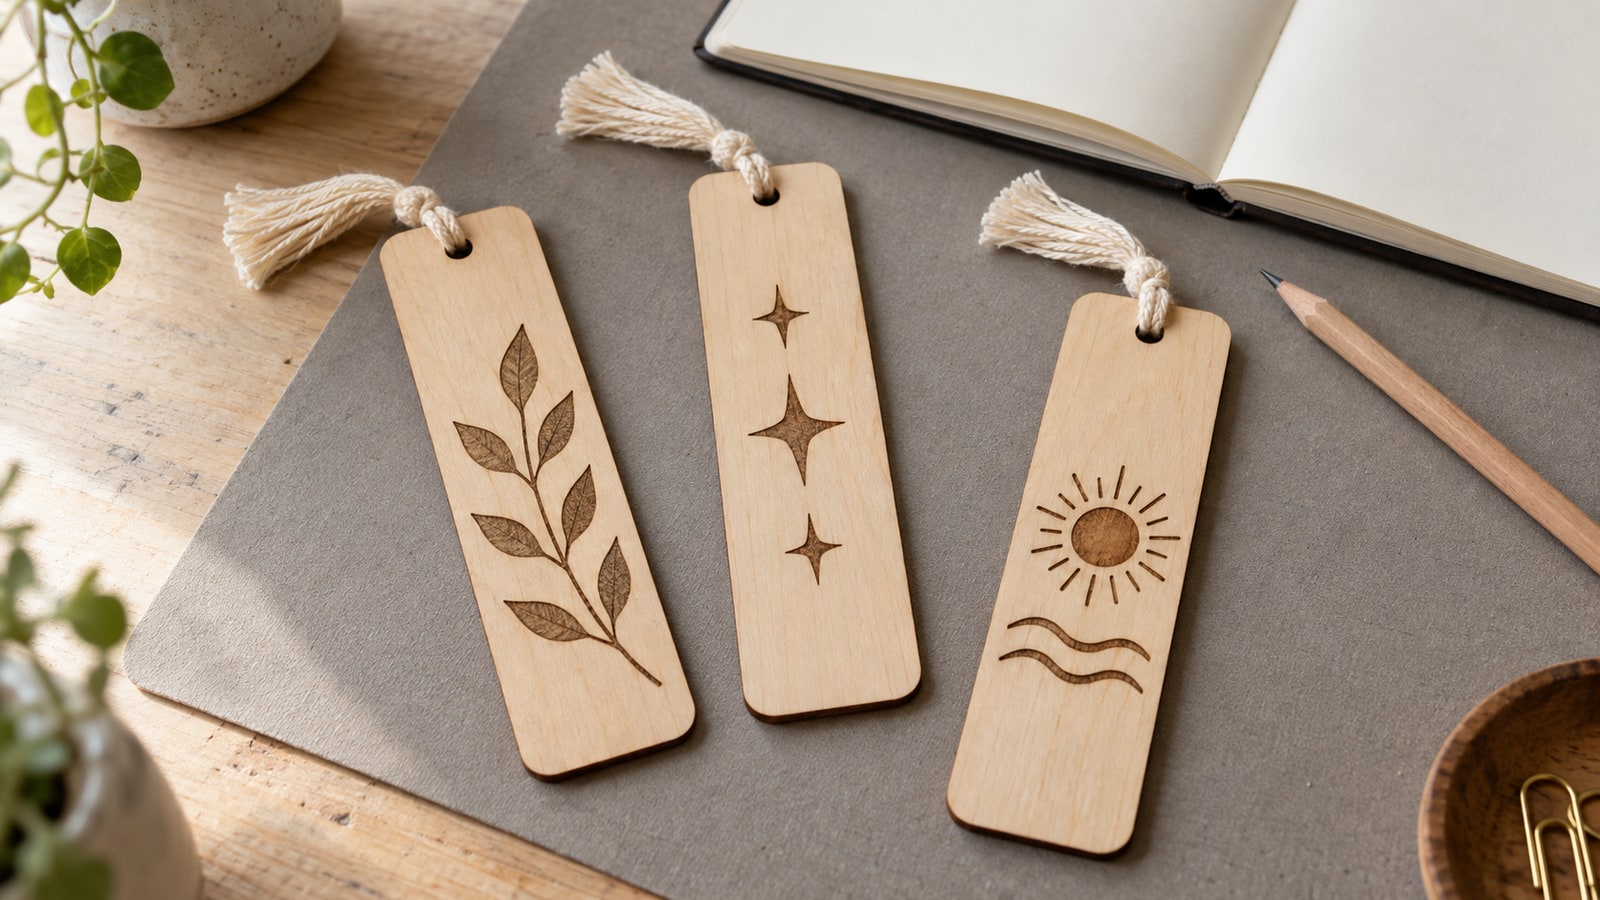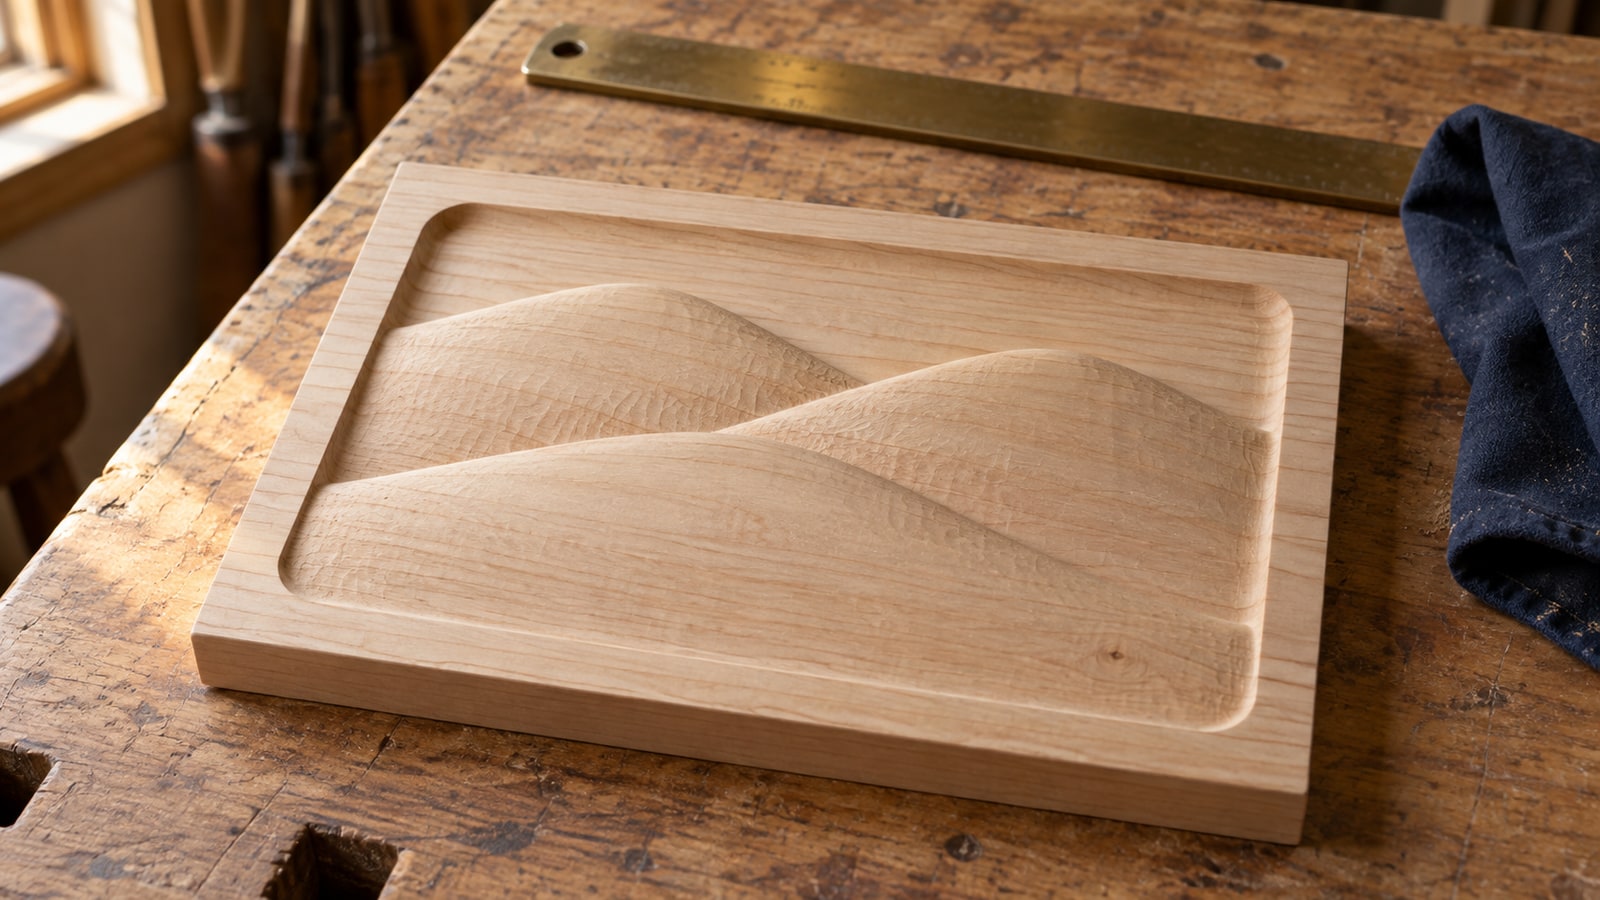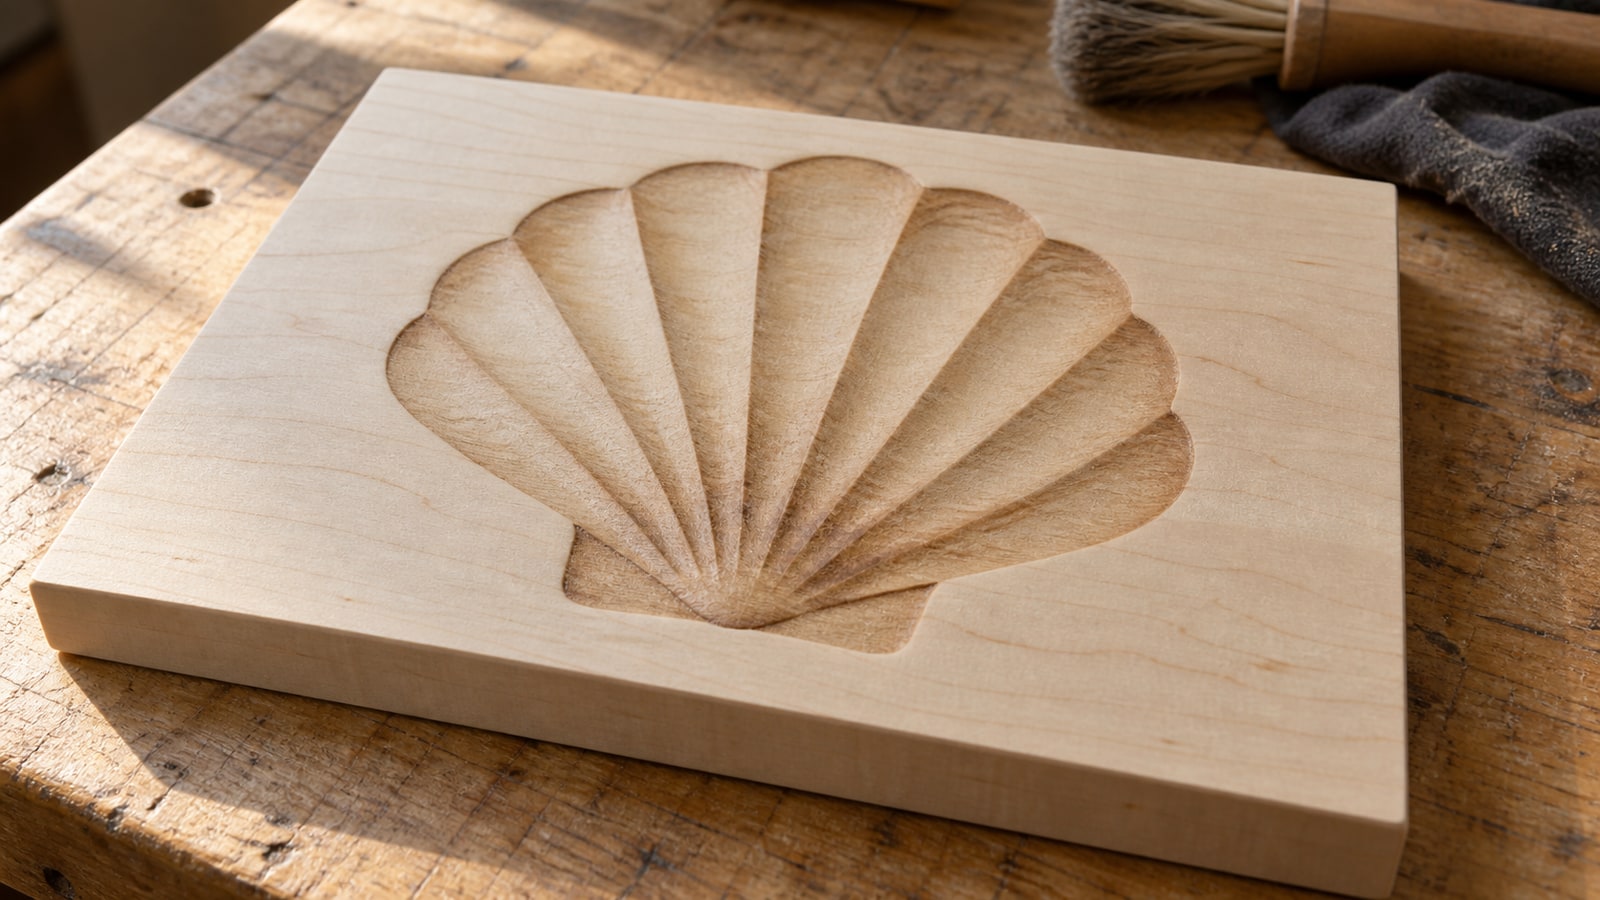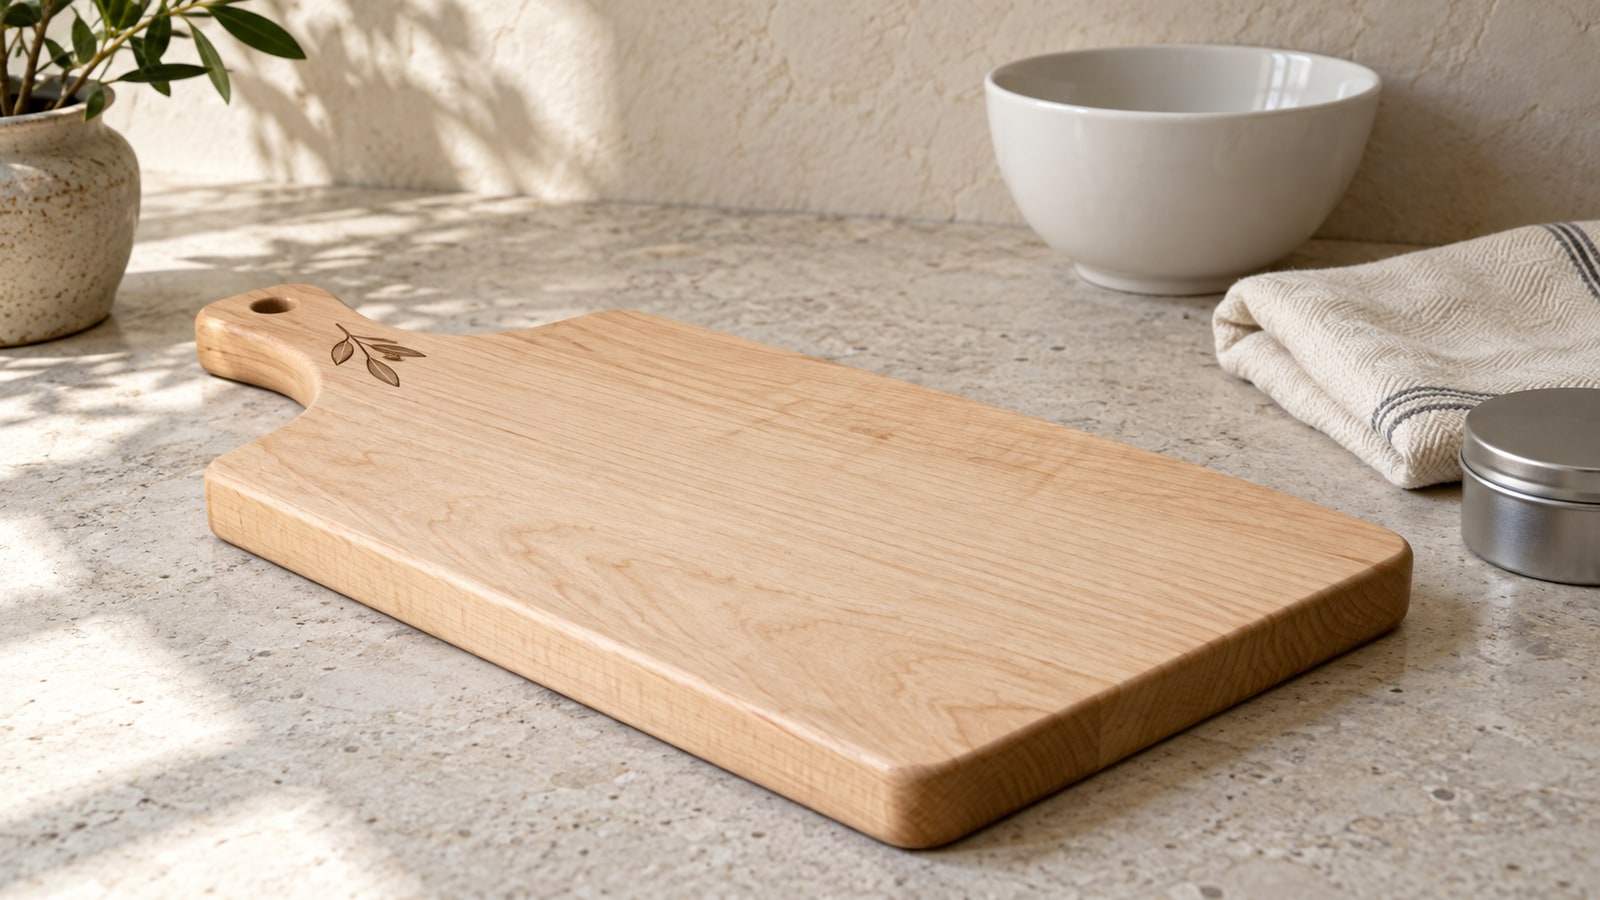
The job finished. You lifted the piece off the bed, brushed it clean, and it looks genuinely good. Now you are standing at the bench holding a can of something, and the question you cannot answer is whether to open it at all.
This is a real decision, not a formality. A finish deepens the wood, protects it from hands and water, and makes a piece feel bought rather than made. A finish can also mute the engraving you just spent an hour dialling in, and if you rush it, it can drag soot across the clean wood and leave a grey smudge you cannot sand out without sanding away the burn.
Tip
Short answer: clean the soot off first, always. Then pick by use. Dry decor can stay bare or take a compatible finish. Choose handled and wet-use finishes for the actual exposure, and use an exterior-rated system outdoors. For food-contact objects, follow the exact product’s stated uses, application and cure instructions.
Before anything: get the soot off
A laser engraving is a controlled burn, and burns leave residue. Some of it is bonded char that is the mark itself. Some of it is loose powder and smoke deposit sitting on the surface around the mark, held on by nothing much at all.
Put a wet rag on that and you have made a paintbrush. The solvent lifts the loose black, the rag spreads it across the pale wood, and the halo it leaves is worse than anything the burn did. This is the single most common way a good engraving gets ruined at the last step.
The sequence that avoids it:
- Remove loose residue first. Use a soft brush with appropriate dust collection, taking care not to scrub away the intended mark.
- Test a compatible cleaner on scrap. Follow the blank and finish suppliers’ guidance. Isopropyl alcohol is not a universal cleaning step: it can spread soot or affect some coatings. Use a fresh cloth area as residue lifts.
- Let it dry completely. Follow the cleaner’s drying requirements; moisture remaining in the wood can affect the next coat.
- Only now open the can.
Guides written by laser shops describe the same order, and several add the obvious upstream fix: mask the surface before you engrave. Paper transfer tape over the wood catches the smoke deposit and peels away with it, reducing cleanup on the surrounding face. Masking does not remove residue inside the engraving or guarantee a clean result.
CNC pieces skip the soot issue and get a different one. A carved surface has fuzz, especially in softwoods, and finish will lock that fuzz in place permanently. Sand lightly by hand at 220 grit before finishing, and keep the sanding block off the crisp carved edges.
The honest tradeoff nobody puts on the can
Here is the part that decides which finish you want, and it comes down to what a finish physically does.
Any finish, oil or film, wets the wood fibres and drops the amount of light scattering back off the surface. Bare pale wood looks pale because it scatters light everywhere. Wet it and it goes deep and warm, which is exactly the effect everyone is chasing when they oil a board.
Now think about what it does to a burn. The char is already close to black, so it has very little darkening left to give. The wood around it has plenty. Put oil on a maple engraving and the background moves a long way toward the char while the char barely moves at all. The piece looks richer and the design reads slightly softer, because the difference between the two tones has narrowed.
That effect scales with how fine the artwork is. A bold silhouette has enormous shapes doing the work and loses nothing you would notice. A design built from dense cross-hatching relies on the pale wood showing between the lines, and as the background darkens those gaps close up visually. This is the design-side judgement we make constantly when drawing files: hatching that looks superb on bare basswood can go muddy once the piece is oiled, and the fix is choosing a bolder design for pieces you know will be finished dark.
Walnut does not have one predictable tonal response. The mark can read lighter or darker depending on the wood, laser process, cleaning and finish. Compare a finished test piece under the lighting where the object will be used.
Option one: nothing
Leaving a piece bare is a real choice and it is not laziness.
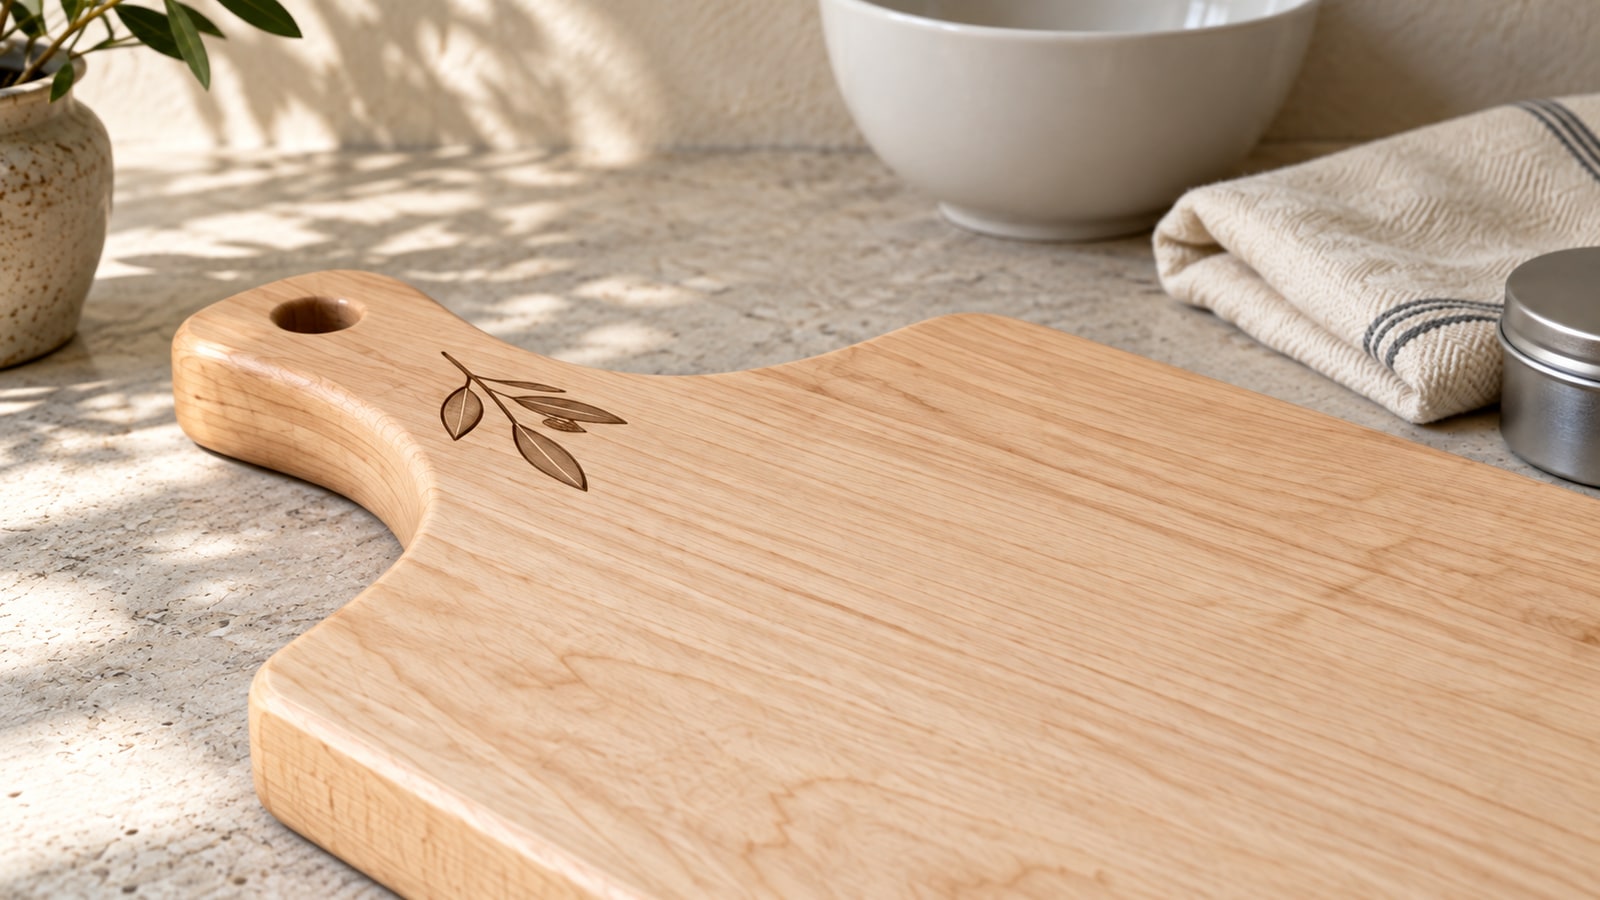
Bare wood keeps the initial appearance of the cleaned engraving. It keeps the natural pale colour of basswood or birch, which is often the entire look of a modern-style sign. It costs nothing, adds no drying time to a batch, and cannot smear anything.
What you give up is protection. Bare wood takes fingerprints, absorbs any liquid that touches it, greys under UV, and moves with humidity. Skin oils will slowly darken the places people hold it, which on a keepsake reads as patina and on a retail item reads as dirty.
Leave it bare when: the piece hangs on a wall, sits in a frame, lives inside a box, or is a prototype. Do not leave it bare when: it goes outdoors, near a sink, on a table under drinks, or into a customer's hands with an expectation of durability.
Option two: wax
Paste wax is the lightest thing you can put on wood and still call it finished. It sits on the surface, fills nothing, and buffs to a soft low sheen.
Minwax instructs applying a thin even coat of its Paste Finishing Wax, letting it dry 10 to 15 minutes, then buffing with a cloth or polisher. That short cycle is most of the appeal: a batch of ornaments can be waxed and buffed in an afternoon rather than tied up overnight.
Wax formulations vary, and their oils, solvents or colorants can change the wood’s appearance. Test contrast instead of assuming wax always preserves it best. It gives a pleasant slip to the surface and a little resistance to fingerprints. It is not waterproof, it is not durable, and it wears off with handling, so it needs redoing. It also blocks most other finishes, so wax goes on last or not at all.
Wax and oil blends sit between the two categories. Howard Butcher Block Conditioner combines USP food-grade mineral oil with beeswax and carnauba, which puts oil into the wood and leaves wax on top in one step.
Consider wax for: ornaments, boxes and dry indoor decor where its limited protection is enough. Test the resulting contrast first.
Option three: penetrating oil
Drying oils can cure by oxidation, while non-drying mineral oil does not harden. Commercial oil finishes may also contain varnish or wax, so the label “oil” does not describe one chemistry. This is the finish most people picture when they picture a beautiful wooden object.
The look is the reason to use it. Grain depth, warmth, and a surface that feels like wood instead of like plastic. Some oil finishes allow local maintenance, but compatibility and a visible repair edge depend on the product and damage.
The costs are time and durability. Rust-Oleum's technical data for Watco Danish Oil lists dry to touch at 6 to 8 hours, ready to handle at 10 hours, and recoat at 72 hours under standard conditions, and it specifies waiting 72 hours before applying any polyurethane topcoat over it. Oil also gives less water and stain resistance than a film finish, which matters on a coaster and matters enormously on anything outdoors.
Oil is also the finish most likely to smear an uncleaned engraving, because you are deliberately flooding the surface with liquid and wiping it around. Remove residue with a tested compatible method first.
Heads up
Oily rags start fires. Drying oils generate heat as they cure, and a wadded-up rag holds that heat in. Rust-Oleum's safety documentation for Watco Danish Oil says to place rags, steel wool, and waste in a closed, water-filled metal container immediately after use. Follow the product’s rag-disposal instructions and local disposal requirements. Do not ball them up and drop them in the bin next to your machine.
Choose oil for: serving boards, handled objects, furniture parts, anything where feel matters more than a bulletproof surface, and anything you expect to maintain over years.
Option four: film finishes
Polyurethane, lacquer, shellac, and water-based clear coats build a physical layer on top of the wood. That layer is what stands between your engraving and the world.
Durability is the whole point. Film-forming products differ greatly in resistance to water, alcohol, cleaning products and abrasion. Choose one rated for the intended exposure; an interior clear coat is not automatically suitable for an outdoor sign.
Speed can be excellent. Minwax states Polycrylic recoats after 2 hours, allows light handling 3 hours after the final coat, and normal use after 24 hours. Compare that to the 72 hour recoat window on Watco Danish Oil and you can see why production shops lean on water-based clears.
Two cautions specific to engraved work. First, brushing a film finish over a fresh burn is the smear risk again, at its worst, because a loaded brush carries loose char in every direction. Spraying in light coats avoids touching the surface at all and is the safer route on a piece you care about. Second, a heavy film can visibly fill a shallow engraving, softening the edges of the mark and dulling that scorched-matte texture that makes an engraving look engraved. Thin coats, more of them.
On V-carved CNC work the film-fill problem inverts and becomes useful. Sealing before a paint fill is standard practice precisely because the seal stops paint bleeding into the grain at the edges of the groove, which is what gives you the sharp two-tone lettering. Seal, paint over everything, then sand the flat face back clean and leave the colour sitting in the carving.
Consider a suitable film finish for: coasters, frequently handled decor and paint-filled work. Outdoor pieces need an exterior-rated system; selling an object does not itself require a film finish.
Published figures at a glance
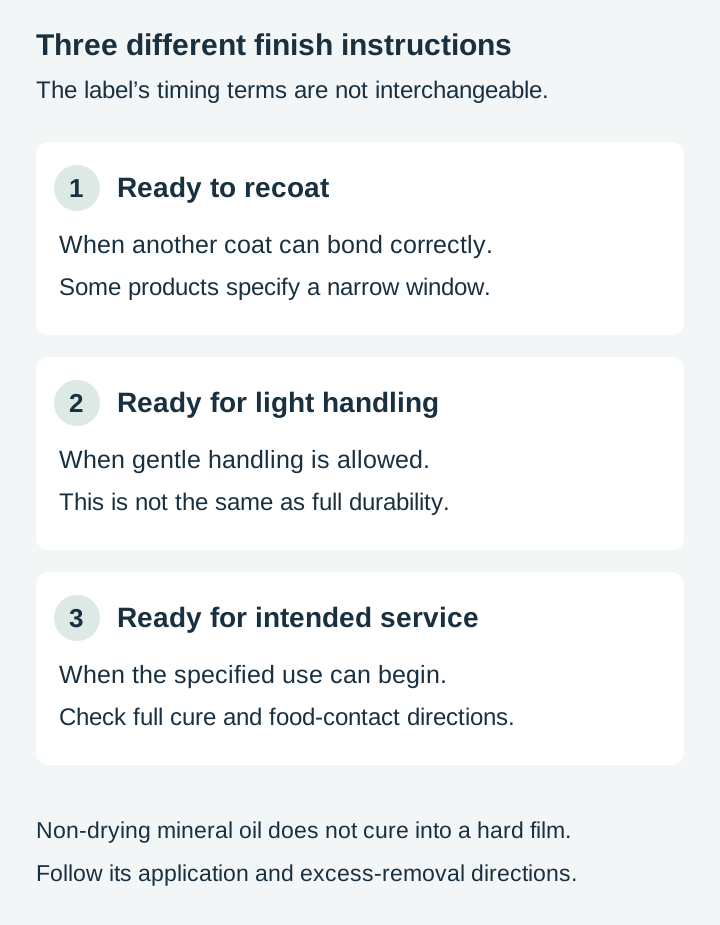
These are manufacturer-published times for specific named products, not measurements of our own, and they assume the conditions each maker specifies. Temperature, humidity, and coat thickness all move them. Read the can in your hand rather than this table.
| Product | Type | Published recoat | Published time to use |
|---|---|---|---|
| Minwax Paste Finishing Wax | Wax | Buff after 10 to 15 min | Immediate after buffing |
| Watco Danish Oil (Rust-Oleum) | Penetrating oil | 72 hours | Handle at 10 hours |
| Minwax Polycrylic | Water-based film | 2 hours | Light use 3 hours, normal use 24 hours |
| General Finishes Wood Bowl Finish | Oil-based film | 24+ hours | Light use 7 to 10 days, full cure 30 days |
| Tried and True Original Wood Finish | Polymerized linseed and beeswax | Follow the current label | Follow maker’s application and cure instructions |
Food contact, honestly
This is where the internet is at its least helpful, so here is the actual state of it.
Do not infer food-contact suitability from “natural,” “dry” or “fully cured” alone. Use the exact manufacturer’s stated application, including any limits on repeated contact, hot foods, cutting surfaces and cure time. A general claim that every cured finish is inert and suitable for food is too broad.
So the practical guidance splits by object:
Cutting boards and anything a knife touches. Food-grade mineral oil or a mineral oil and beeswax conditioner. Howard states the mineral oil in its Butcher Block Conditioner exceeds US FDA regulations for direct and indirect food contact, and directs you to let it stand at least an hour or overnight, with 3 to 4 coats on unconditioned thick stock, reapplied whenever the wood looks or feels dry. No film finish belongs here anyway, because knife cuts would shred it.
Serving boards, charcuterie, bowls, utensils. You have more options. Tried and True Original Wood Finish is polymerized linseed oil and beeswax with no solvents added, and the maker states that it complies with FDA 21 CFR 175.300 for food contact surfaces. Toy-safety or saliva-resistance statements alone do not establish suitability for every food-contact use. General Finishes publishes a 30 day full cure for its oil-based Wood Bowl Finish and tells you to wait that out before use.
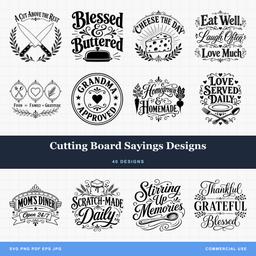
The layout rule that matters more than the finish. Keep the engraving off the working centre of a board. Engraved grooves can trap food, and a design running along one short edge or across the back keeps the whole middle usable. Most cutting board saying designs are already composed as a band for exactly that reason, ours included. Our kitchen and BBQ project guide goes deeper on board layout.
 Bbq Designs50 designs, commercial license included$3.99
Grill and BBQ artwork is the easy sell here because the recipient already owns the board it goes on, and a compatible food-grade mineral oil is a maintainable option for a maple board. Every pack we sell includes a commercial license with no unit cap, so one $3.99 file set can back an entire market table of boards.
Picking by project
- Wall sign, indoor. Nothing, or wax. Contrast is the product.
- Ornament. Wax, or a light spray clear if it will be handled by a crowd of relatives every December.
- Coaster. Film finish. Wet glasses are the whole job description.
- Cutting board. Food-grade mineral oil or board conditioner, reapplied forever.
- Serving or charcuterie board. Mineral oil for simplicity, or a hard-curing food-contact finish if you want more stain resistance.
- Outdoor sign. Exterior-rated film finish, and pay attention to carved recesses on CNC work, since that is where water sits.
- Keepsake box or urn. Oil, for the depth and for the ease of touching up years later.
- Anything you sell. Whatever you choose, choose one and standardise. Consistency across a batch is worth more than the last five percent of any single finish's performance.
Slate and other non-wood pieces
If your batch includes slate coasters alongside the wood, do not carry your wood process across. Mineral oil or a suitable stone sealer can change slate’s appearance, but test the effect and compatibility first, especially if the blank arrives sealed. Remove loose stone residue before finishing; a food-contact piece needs a product approved for that use. Our slate engraving guide covers it properly.
 Horse Designs For Slate31 designs, commercial license included$3.99
Choose the design for the finish, not just the finish for the piece
The decision that has the most influence on the final result happens before the machine runs. If you know a piece is going to be oiled dark, pick artwork with confident line weights and real solid shapes, because the background is going to come up to meet the burn. Save the finely hatched work for pieces staying bare or getting wax, where the pale wood between the lines survives.
Every pack in our catalog ships as SVG, PNG, JPG, PDF, and EPS with a commercial license included, and the design count pages show every file so you can see at a glance whether a pack leans bold or leans detailed. Browse the food and home collection for board and kitchen artwork, or the quotes and text collection for sign designs, and pick the weight that suits the can you are planning to open.
Designs for this project
Frequently Asked Questions
Do I have to seal laser engraved wood?
No. Bare wood is a legitimate finish for anything that stays dry and gets handled rarely, like a framed piece or a wall sign. Sealing matters when the piece will be touched, washed, set down on a wet surface, or used with food. Anything that lives in a kitchen or outdoors should be finished.
Does oil ruin a laser engraving?
It does not ruin it, but it changes it. Oil darkens the bare wood far more than it darkens the char, so on a pale wood the gap between burn and background narrows and fine hatching reads softer. The piece looks richer and the design looks slightly less crisp. Dark woods can behave differently; test the complete finish on the actual engraving rather than predicting contrast from species alone.
Why did my finish smear the engraving?
Loose soot. A fresh burn leaves powdery char sitting in and around the engraved area, and a wet rag drags it across the clean wood as a grey halo. Remove loose residue gently, then test a cleaner compatible with the wood and intended finish. A solvent can also spread residue or affect an existing coating; let the surface dry fully before finishing.
What finish is safe on an engraved cutting board?
Food-grade mineral oil or a mineral oil and beeswax board conditioner is the standard answer, and it is easy to reapply forever. Products such as Howard Butcher Block Conditioner state that the mineral oil in them exceeds US FDA regulations for direct food contact. Hard-curing options exist too, including Tried and True Original Wood Finish, which the maker states complies with FDA 21 CFR 175.300 for food contact surfaces.