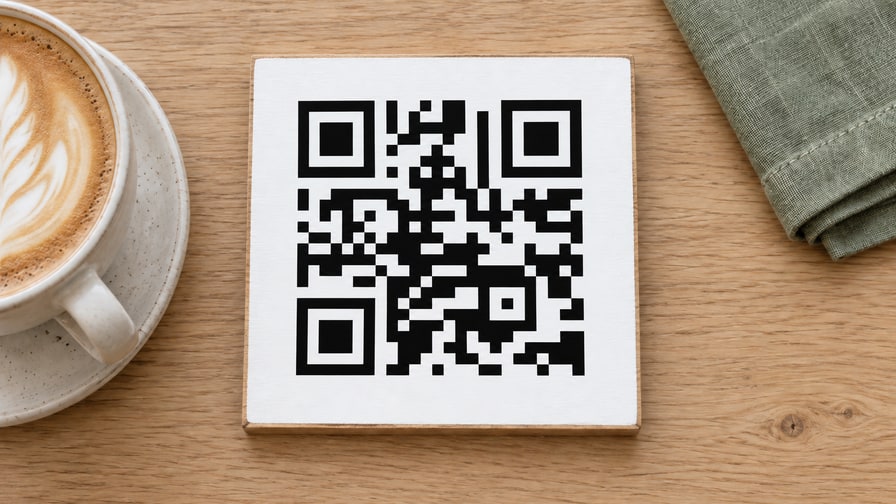
A QR code on a product is a genuinely useful thing. It takes somebody from a physical object to your shop, your care instructions, your portfolio, or a wifi password, and can be a useful addition when production and testing are included in the plan.
It also fails more often than almost anything else you can engrave, and it fails silently. The piece looks perfect. It just does not scan, and you find out when a customer tells you.
Tip
Short answer: engraved codes fail because they are too small, too low in contrast, or too crowded. Make it larger than feels necessary, leave a clear margin all the way round, engrave rather than cut, and test it with more than one phone before you make fifty.
What a scanner is actually looking for
Worth understanding, because all three failure modes follow from it.
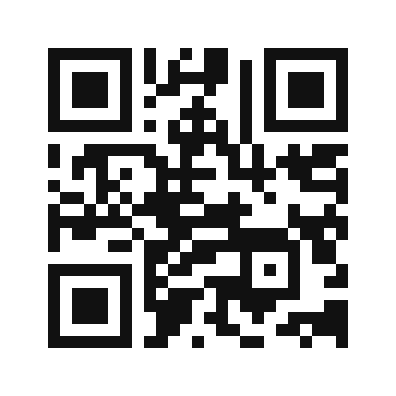
A QR code is a grid of small squares, called modules, that a scanner reads as either dark or light. It finds the code using the three large squares in the corners, works out the orientation, then reads the grid.
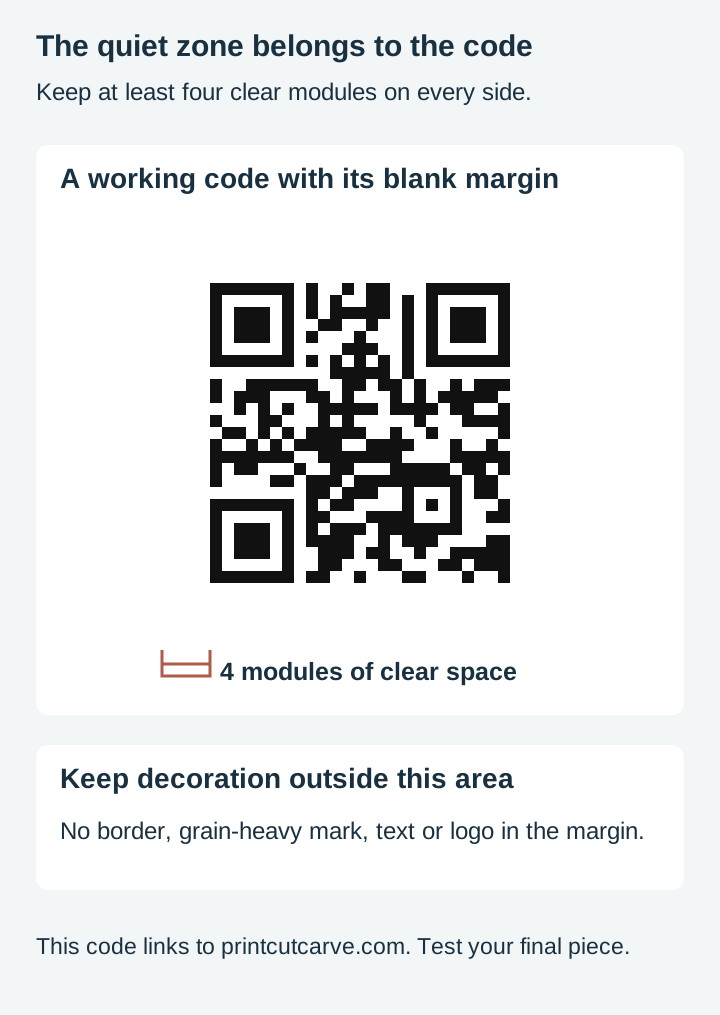
That means the scanner needs three things: modules big enough to resolve individually, a clear difference between dark and light, and enough blank space around the code to find its edges. The specification calls that blank margin the quiet zone, and it is part of the code rather than decoration around it.
Those are common production problems. An invalid code, damaged geometry or a broken destination link can also fail.
Size is the one people get wrong
The most common mistake, and the easiest to fix.
A QR code holding a long URL has a lot of modules in it. Shrink the whole code and each module shrinks with it, and once a module is smaller than your machine marks cleanly, adjacent modules blur into each other and the grid stops being readable.
Two things make this worse than it sounds. Engraving spreads slightly, so a dark module ends up marginally larger than drawn and a light gap marginally smaller. And people scan from further away than you expect, at an angle, in bad light, on an old phone.
Shorten the URL first. A shorter payload can allow a smaller QR version, depending on encoding and error-correction level. Fewer modules give each one more space at the same overall size. A short link is the single cheapest improvement available, and it costs nothing.
Then start too big. Engrave the code larger than feels necessary, test it, and reduce in steps until it stops working. Choose a size with comfortable margin across the intended phones, distances and lighting; do not rely on the single smallest successful scan. Do the test on the actual material, because contrast varies by material more than anything else here.
Contrast, and why material decides it
The second failure mode, and the one that catches people moving between materials.
The scanner needs to tell dark modules from light ones. On pale birch with a good dark scorch, that is easy. On dark walnut, a dark burn on dark wood is much less distinct, and a code that scanned perfectly on birch may not scan at all.
Slate commonly marks pale on a dark face, creating an inverted light-on-dark code if you engrave the dark modules directly. Scanner support varies. Prefer dark modules on a light field for compatibility, or validate the exact inverted result across intended scanners. Our slate engraving guide covers the material.
Acrylic is the awkward one. An engraved mark on clear acrylic has very little contrast against anything, and what is behind the piece shows through and changes constantly. If you want a code on acrylic, put it on opaque sheet or back it with something solid. Our cast versus extruded post covers which engraves how.
Vinyl can provide strong contrast. Transfer every small module onto an opaque contrasting surface without distortion. Fine pieces can lift or move during weeding and application, so scan the completed result.
The quiet zone
The one that looks like a design problem and is actually a functional requirement.
A QR code needs blank space around its outside edge for the scanner to find where the code stops. Crowd it with a border, a frame, lettering, or a decorative element and the scanner may not locate the code at all.
This is where a lot of otherwise nice designs go wrong, because a bare code looks unfinished and the instinct is to tuck something around it.
For a standard QR Code, DENSO WAVE specifies a margin at least four modules wide on every side. A module is one small grid square. Put the frame outside that quiet zone rather than against the code. That is exactly what a well-drawn QR frame does: it gives the code a decorative surround while leaving the margin intact, so the piece looks deliberate and still scans.
 Qr Code Frame Designs63 designs, commercial license included$3.99
Engrave it, do not cut it
Worth stating plainly because people try.
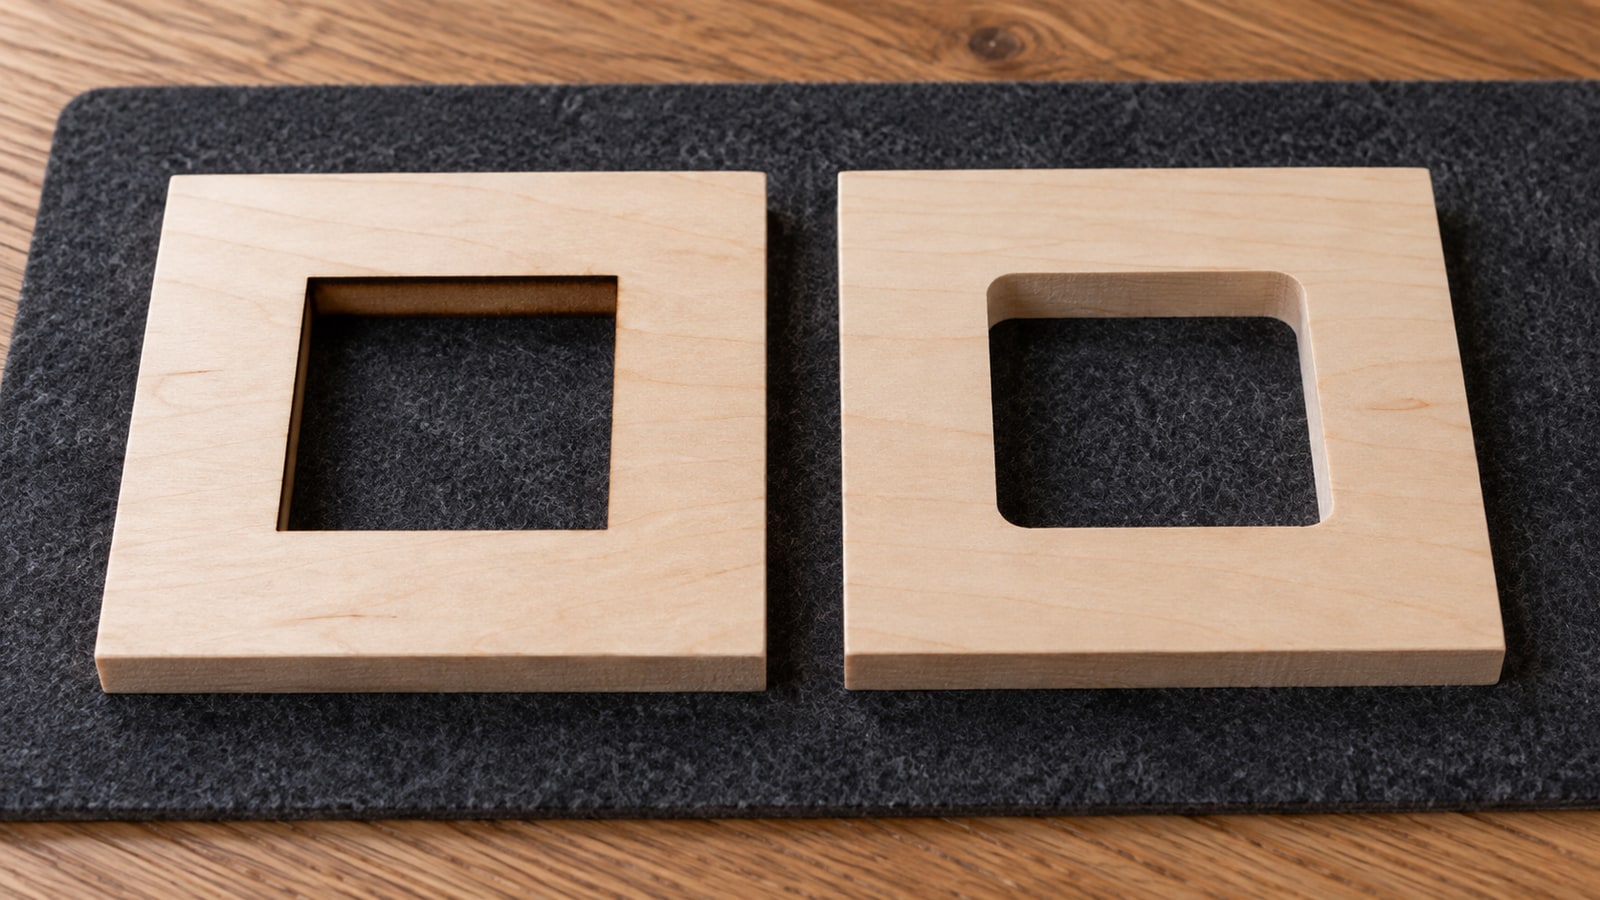
Cutting a QR code through material leaves holes, and what the scanner sees through those holes is whatever happens to be behind the piece. On a table that is the table. Held up, it is the room. Neither is a consistent light background.
The exception is a two-layer piece: cut the code through a dark top layer mounted on a pale backing board, so the holes read as reliable light modules. That approach also requires every isolated dark region to be retained and fixed in the correct place. A backing does not automatically rescue islands lost during cutting. Verify the final dark/light pattern and quiet zone, then scan it.
Otherwise, engrave. Our engrave, score or cut post covers how the file tells the machine which is which.
Getting the code into your design
The practical workflow.
- Shorten the destination URL.
- Generate the code. Craftgineer, our sister site, has a free QR generator that handles links, contact details and wifi credentials. It is free with a free account. Plenty of other generators exist and most are fine.
- Get it as vector if you can. An SVG code is made of clean square modules. A traced PNG gives you slightly soft edges and a much higher node count, and our auto-trace cleanup post covers why that matters.
- Do not distort it. Scale it proportionally and never stretch, skew, or round the corners of the modules. The grid has to stay a grid.
- Place it with its quiet zone intact, and put any frame outside that.
- Test before you commit. Engrave one on scrap, scan it with two or three different phones, from a normal distance, in ordinary light.
Step six is the whole thing. A code that scans on your phone at arm's length under a bright bench light is not the same as a code that scans on a customer's older phone across a table.
Where a code earns its place
Three that genuinely work, and one that mostly does not.
On a product, linking to care instructions. A small tag on the back of a piece pointing at how to look after it. Useful, and it saves you answering the same question repeatedly.
On a stall sign, linking to your shop. Somebody who liked your work but did not buy today can find you later. This is the one with the clearest commercial value, and it wants to be large enough to scan from a step or two away.
On business and property signage. Estate agent boards and photographer signage both use codes heavily, pointing at a listing or a gallery, and those packs are built for exactly that.
What mostly does not work: a code as decoration. A code that does not go anywhere useful is a grid of squares, and it dates a piece quickly.
 Real Estate Agent Designs28 designs, commercial license included$3.99
 Photography Designs46 designs, commercial license included$3.99
Before you make fifty
Two things worth checking that have nothing to do with the engraving.
Where does it point, and will that still exist? A code engraved into wood is permanent. The link behind it is not. Pointing at a specific listing that expires is how you end up with fifty pieces leading nowhere. A stable page you control is the safer target.
Have you scanned it since you engraved it? Not the digital file. The actual finished piece, from the actual material, with a phone that is not yours.
Every design in our catalogue ships as SVG, PNG, JPG, PDF, and EPS, so the frame that surrounds your code is the same file whether you engrave it, cut it in vinyl, or print it. Browse the full catalogue at $3.99 a pack, commercial license included with every purchase and no cap on how many physical products you sell.
Designs for this project
Frequently Asked Questions
Why will my engraved QR code not scan?
Almost always one of three things. It is too small, so the individual squares blur together. There is not enough contrast between the marked and unmarked areas. Or something is crowding the code and there is no clear margin around it. Size and margin are the two you control in the design.
How big does an engraved QR code need to be?
Bigger than you think, and the honest answer is that it depends on how cleanly your machine marks and how far away people scan from. Start larger than feels necessary, test with a few different phones, then reduce until it stops working and go back up. That test takes five minutes and saves a batch.
Can I cut a QR code through the material?
Not usefully. A QR code is read as a pattern of dark and light squares, and cutting it through leaves holes that show whatever is behind the piece. A high-contrast backing and accurately retained islands are needed for a layered approach. Surface marking or printing is usually simpler; scan the finished result rather than assuming it works.
Does the code still work if part of it is damaged?
Often, because QR codes carry error correction and can be read with some of the pattern obscured. That is a safety margin, not a licence to be careless: relying on it while also engraving small and low contrast is how you end up with a code that scans on your phone and nobody else's.