A repeating pattern is a cheap way to fill a large area with something that looks considered. It is also unforgiving, because the eye is very good at spotting a repeat and picks out a visible join immediately.
Getting it right is one rule applied carefully, and then a handful of decisions about how the tile is laid out.
Tip
Short answer: build one tile where every motif crossing an edge is duplicated exactly on the opposite edge. Anything leaving the right side must enter the left at the same height. If you want a half-drop or brick repeat, build its edge matches for that offset from the start.
The one rule
Everything about seamlessness comes down to this: opposite edges have to correspond exactly.
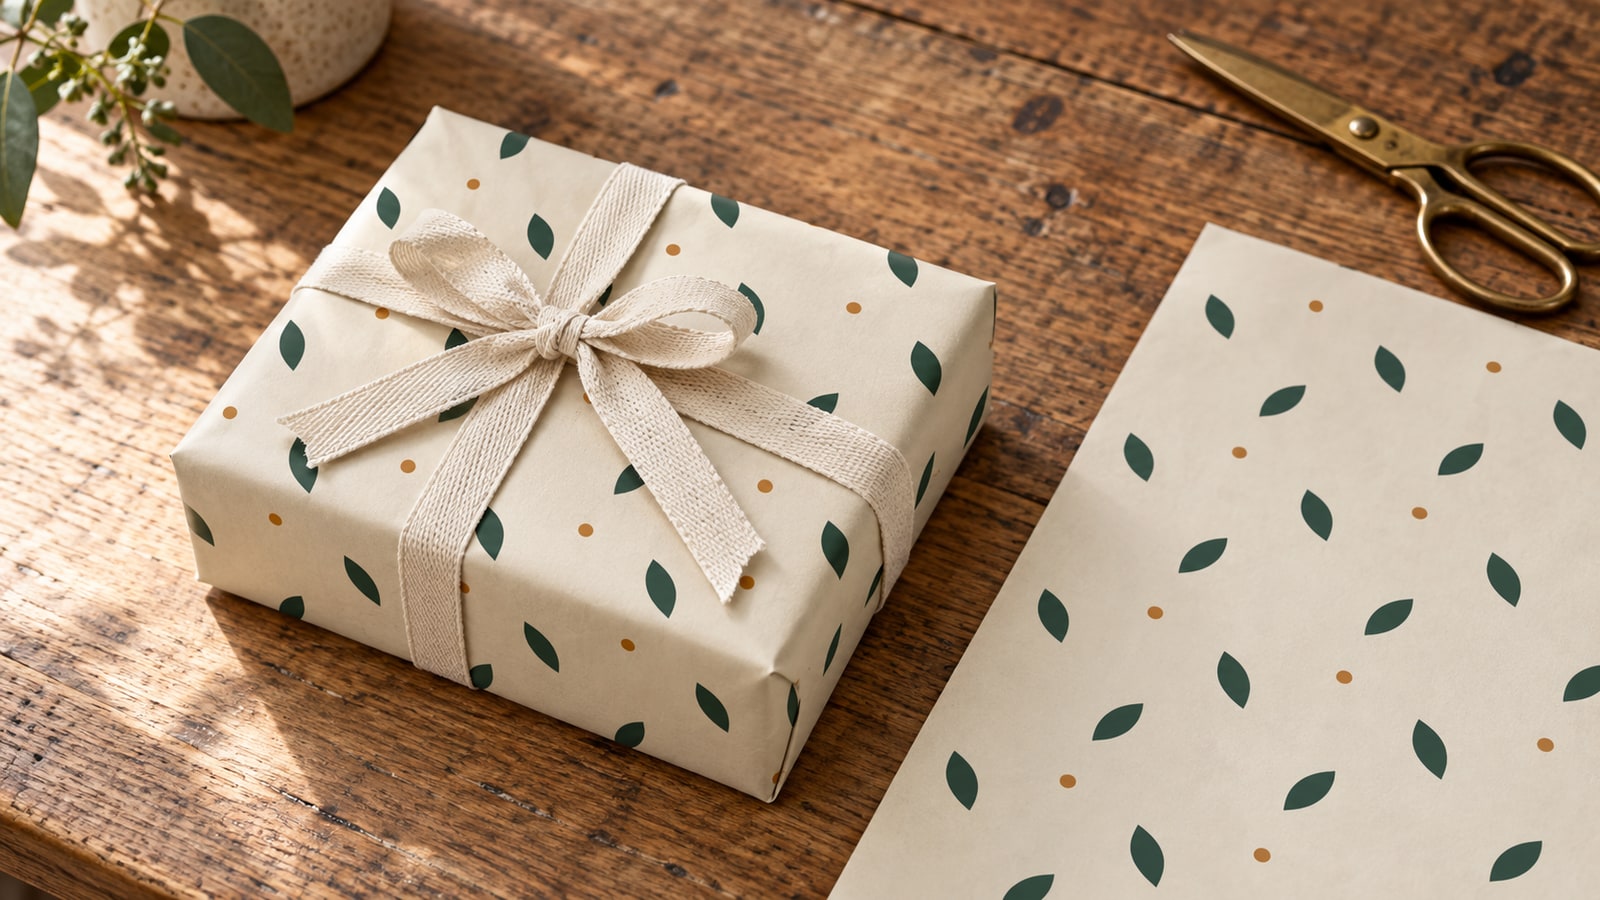
Take a square tile. A leaf that runs off the right edge, halfway up, must appear entering the left edge at exactly the same height, with exactly the same shape and the same amount of it showing. Same for top and bottom.
When that is true the tile can sit next to a copy of itself in any direction and the join is invisible, because there is no join: the artwork simply continues.
When it is not true, every single repeat shows a line, and once you have seen it you cannot stop seeing it.
Building the tile
The reliable method, and it is more mechanical than creative.
-
Draw a square. This is your tile boundary. It is a guide, not artwork, so keep it on its own layer.
-
Place motifs entirely inside it first. Anything that does not touch an edge is free. Scatter these however you like; they are the easy part.
-
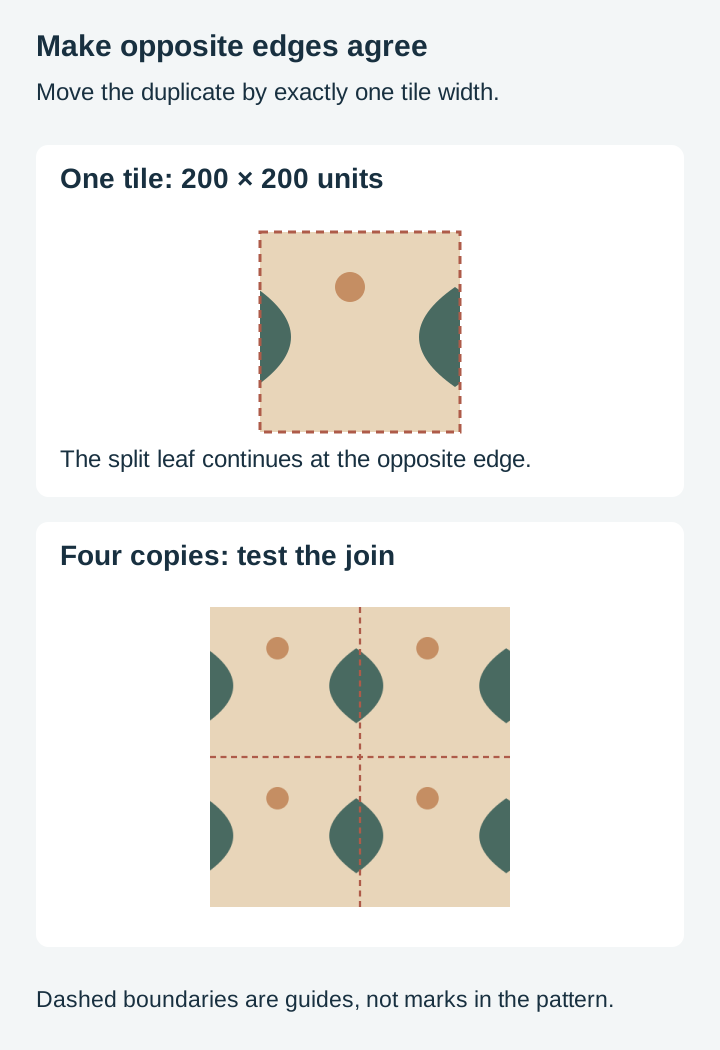
Now deal with the edges. Take a motif and let it cross the right edge. Duplicate it, and move the duplicate left by exactly the tile width. The duplicate now crosses the left edge in exactly the way the original crosses the right, so when two tiles sit side by side the two halves meet and complete each other.
-
Repeat vertically. A motif crossing the top gets a duplicate moved down by exactly the tile height.
-
Corners need four copies. A motif crossing a corner has to appear at all four corners, each offset by the tile width, the height, or both.
The word doing the work in all of that is exactly. Moving a duplicate by the tile width means typing the number, not dragging it. A copy that is one unit out produces a join you will see and will not be able to explain.
In Inkscape the practical way to do this is Duplicate at Ctrl and D, then use the X and Y fields in the toolbar to set the position numerically. Dragging with snapping on works too, but typing the offset is the version that is right every time.
-
Trim to the tile. Once the edges correspond, everything outside the square is surplus. For cut geometry, trim actual paths rather than relying only on a visual clip. Importers handle clipping differently. In Inkscape, union the motifs that belong to one filled region, then intersect that result with a copy of the tile boundary; intersecting every separate motif at once keeps only their shared overlap. Preserve separate colors as needed. Our boolean operations post covers the difference.
-
Test it. Duplicate the finished tile and put four copies in a two-by-two block. Zoom out. Any join will be obvious immediately, and it is much easier to fix now than after the pattern is on a product.
Avoiding the grid
A tile can be perfectly seamless and still look wrong, and this is the reason.
If motifs sit in even rows and columns, the eye stops reading the pattern and starts reading the alignment. You get visible lanes running through it, usually diagonally, which is the effect textile people call marching or tramlines.
Three ways to break it up:
Half-drop. Alternate columns are shifted vertically by half a tile height. The side-edge matches must be constructed for that offset; shifting a finished straight-repeat tile can break its seams. Wallpaper and fabric have used it for centuries.
Brick. The same idea horizontally: shift alternate rows sideways by half a tile width.
Vary within the tile. Rotate motifs to different angles, vary their sizes, and avoid placing them at regular intervals inside the tile itself. A tile whose contents look random produces a repeat that reads as texture rather than as a grid.
The test is the same: tile it, zoom out, and look for lines. If you can see a structure, the eye has found the grid.
Engraved patterns and cut patterns are different
This is the part that matters most for our kind of work, and it is easy to get wrong.
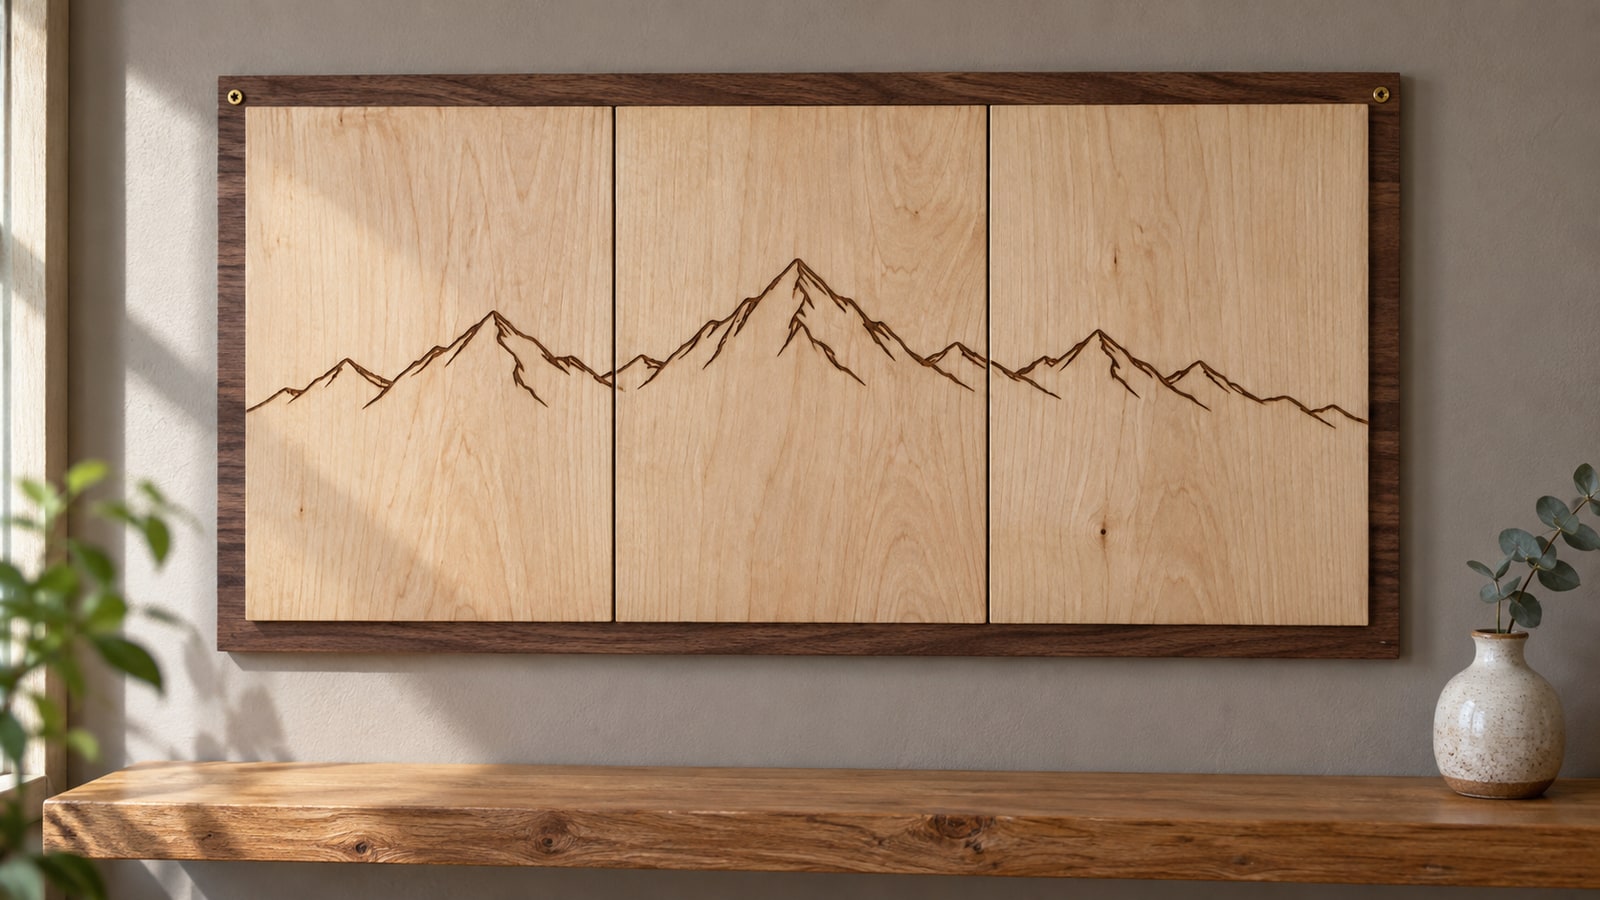
A surface-engraved pattern can use disconnected motifs. Fine detail and dense areas still need suitable size, contrast and settings. Engraving does remove material, but it does not go through, so the sheet stays intact and nothing has to hold itself together. This is where repeating patterns are most useful: backgrounds on panels, texture inside a shape, fills behind lettering.
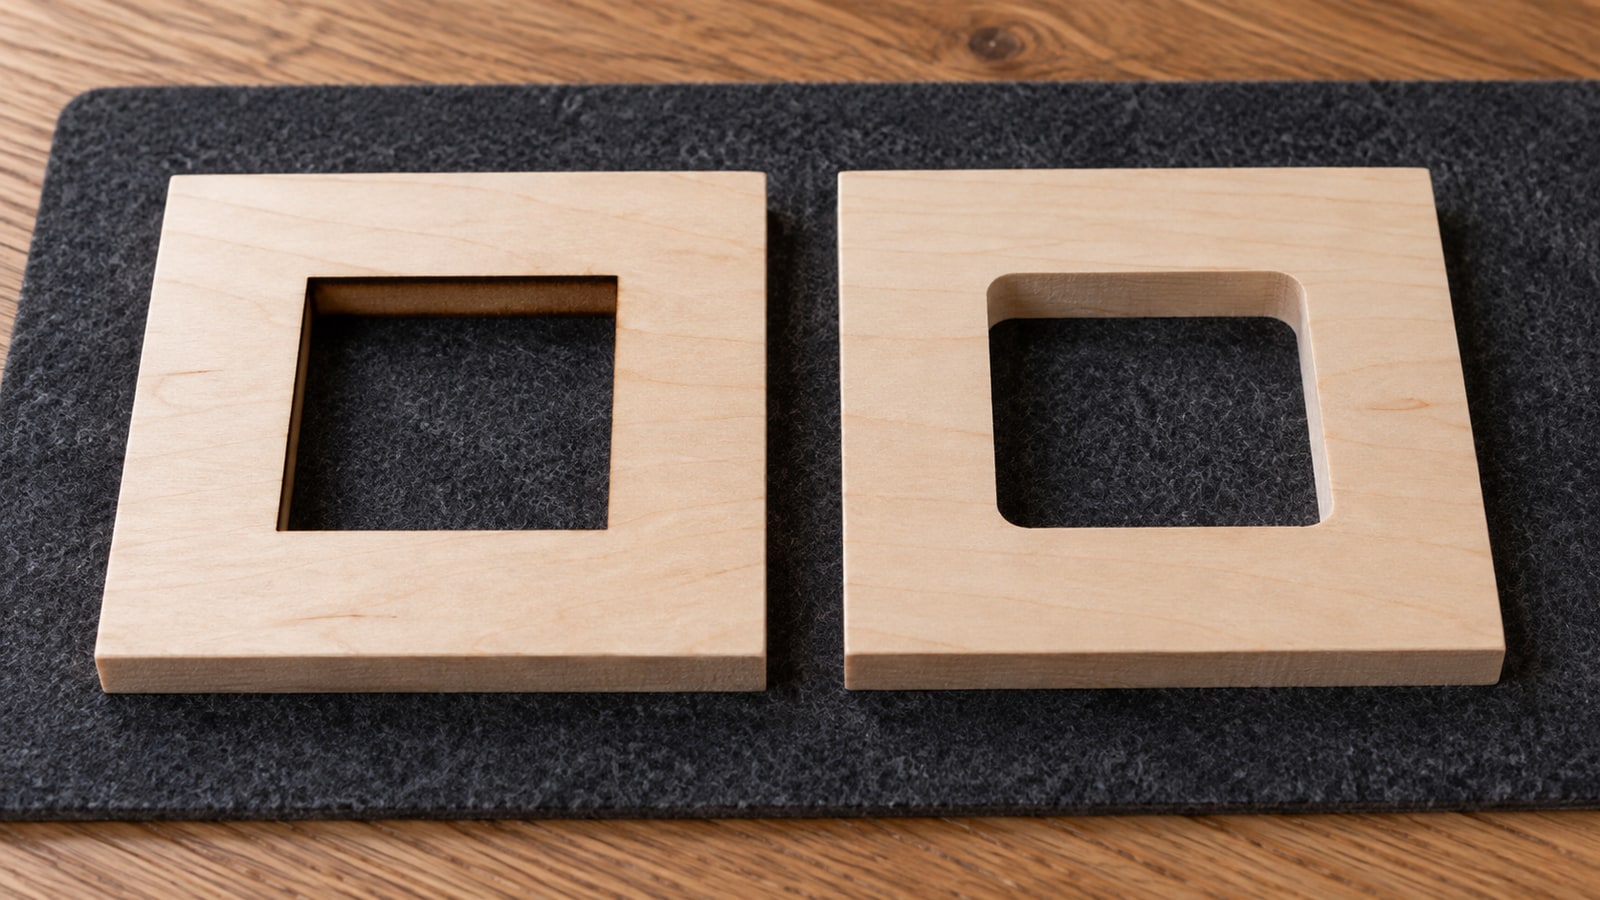
A cut pattern needs something holding it together. In wood or acrylic that means the artwork itself: motifs touching their neighbours, or held inside a frame, or connected to a border, because otherwise the pieces simply drop out. Vinyl is more forgiving, since the liner holds everything in place and transfer tape lifts disconnected elements together, though a scattered pattern is still a long weeding session.
The design decision is whether the pattern is a surface or a structure. If it is a surface, engrave it. If it has to be cut, draw it as an interlocking lattice from the start rather than trying to connect a scattered pattern afterwards.
Our engrave, score or cut post covers deciding which operation a design wants.
Where patterns actually get used
Four jobs that come up constantly.
Tumbler and bottle wraps. A wrap has to meet itself where the ends join, so a seamless horizontal repeat is not decoration, it is a requirement. The vertical direction usually does not need to tile at all. Our tumbler wrap post covers the geometry.
Panel backgrounds. A large engraved area of solid fill is slow and shows every inconsistency in the material. A pattern covers the same area with less of it actually marked and looks intentional, though whether it runs faster depends on how your software groups and travels between the shapes.
Fills inside shapes. Clip a pattern to a state outline, an animal silhouette, or a letter and you have texture inside a shape without drawing it by hand.
Borders. A one-dimensional repeat along an edge. Much easier than a full tile, since only two edges have to correspond.
The four things that go wrong
Edges that do not correspond exactly. The join shows. Caused by dragging instead of typing offsets.
Motifs cropped rather than wrapped. Cutting a motif off at the tile edge without duplicating it on the opposite side. The pattern tiles, and every motif at the join is chopped in half.
Grid alignment. Seamless but visibly regular. An intentionally designed half-drop repeat or changes within the tile can reduce obvious lanes.
Node count. A dense pattern repeated many times carries a lot of geometry, and it compounds fast. A tile with three hundred nodes tiled twelve by twelve is over forty thousand. Our node count post covers when that becomes a problem, and it becomes one faster here than anywhere else.
Where to start
Build a tile with a single motif crossing one edge, duplicate it exactly to the opposite edge, and tile it four times. That five-minute exercise teaches the whole principle, and everything after it is the same move repeated.
Then build a second version laid out as a half-drop and compare. Note that this is a different tile rather than the same one shifted: offsetting alternate columns of a straight-repeat tile breaks the edge matches you just built, so the motifs crossing the side edges have to be rebuilt against the new offset.
Every design in our catalogue ships as SVG, PNG, JPG, PDF, and EPS for different workflows. Check the selected motif’s path structure before trimming, repeating or converting it to a cut lattice. Browse the full catalogue at $3.99 a pack, commercial license included with every purchase and no cap on how many physical products you sell.
Frequently Asked Questions
What makes a pattern seamless?
Whatever leaves one edge of the tile has to enter the opposite edge in exactly the same place. A leaf running off the right side must reappear at the same height on the left. If the two edges do not correspond exactly, the join shows as a line every time the tile repeats.
Why can I see a grid in my pattern?
Usually because the motifs are evenly spaced in rows and columns, so the eye picks up the alignment rather than the pattern. A half-drop layout, where alternate columns are shifted vertically by half a tile, breaks that up without changing the artwork.
Do I build the tile as a square?
A square or a rectangle, and it does not matter which as long as it is consistent. What matters is that opposite edges correspond: left with right, top with bottom. Any motif crossing an edge has to be duplicated exactly on the other side.
Can I use a repeating pattern as a cut file?
Only if it is drawn for it. A pattern that works engraved is often a mesh of separate floating shapes, and cutting that produces confetti. A cuttable pattern has to connect: motifs touching each other, or held inside a frame, so the whole thing comes out as one piece.