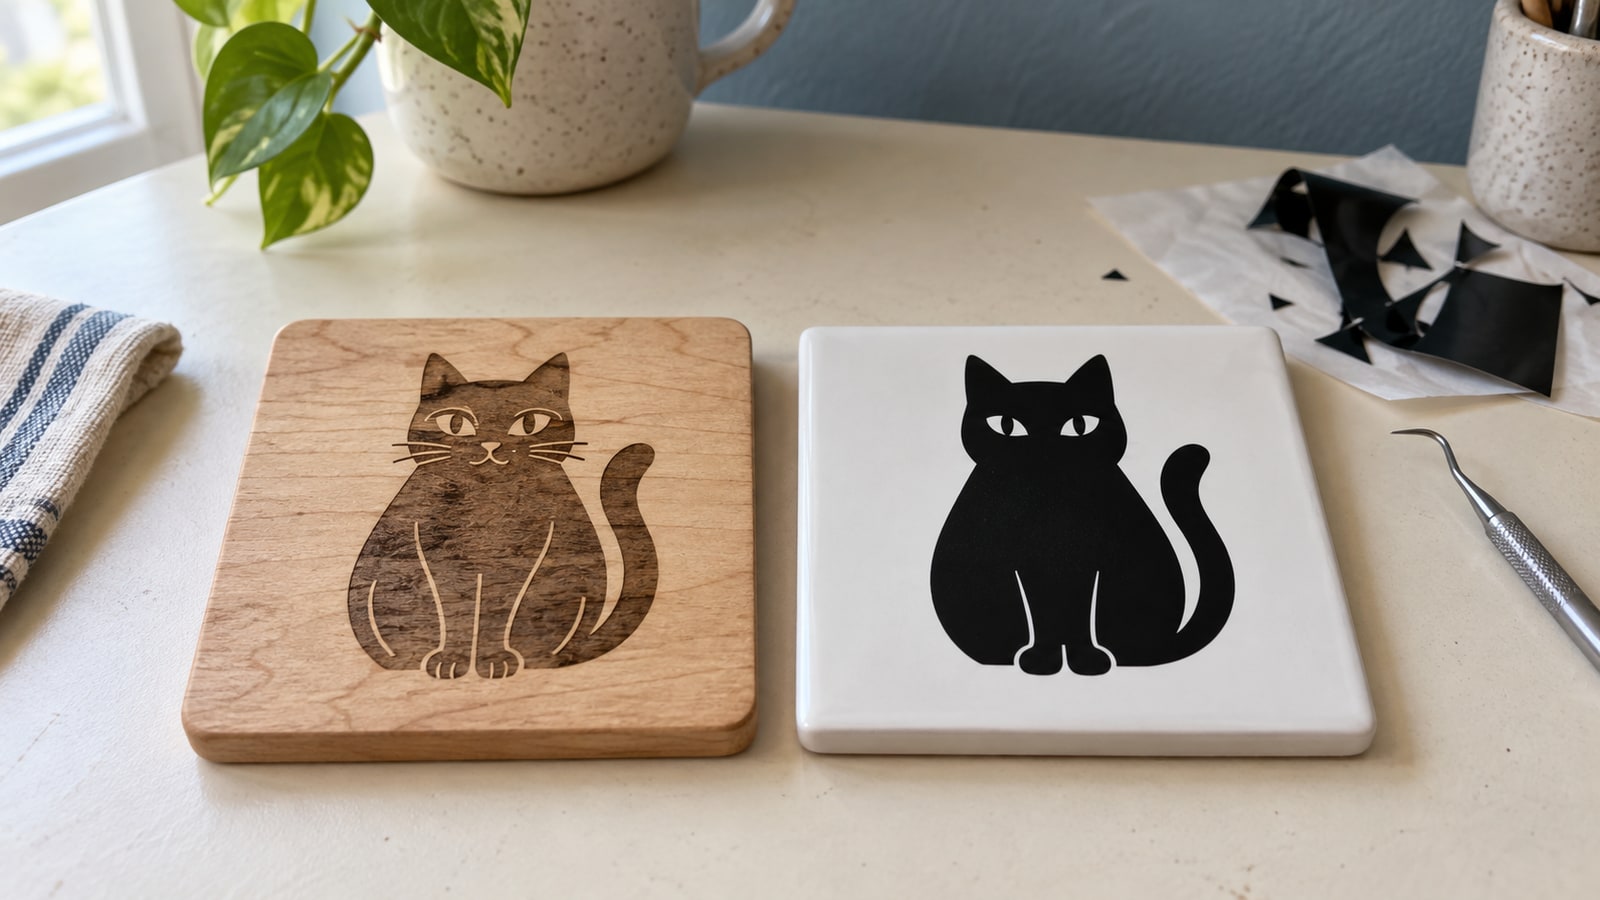
You engraved the design on a plywood coaster last weekend and it came out perfect. Every whisker, every fine line inside the shape, crisp and dark. So you loaded the same file into your cutting software, put down a sheet of black adhesive vinyl, and now you are staring at a mat covered in tiny black threads that used to be a cat.
The cause may be the design’s suitability for the new process, even when the same file worked as an engraving. The two jobs are asking the design for completely different things, and most people never get told what those things are.
Tip
Short answer: engraving makes a mark, cutting makes a separation. An engraved line can be as thin as the beam because the material around it stays intact. A cut line has to leave material on both sides that is wide enough to hold together while you peel, weed, and transfer it. Fine detail still has engraving limits, and vinyl adds the mechanical demands of weeding and transfer.
The one difference everything else comes from
When a laser engraves, it burns a mark into a surface that stays in one piece. The board is still a board. You could engrave a design made of ten thousand hairline strokes and the plywood would not care, because you never asked the plywood to hold anything up.
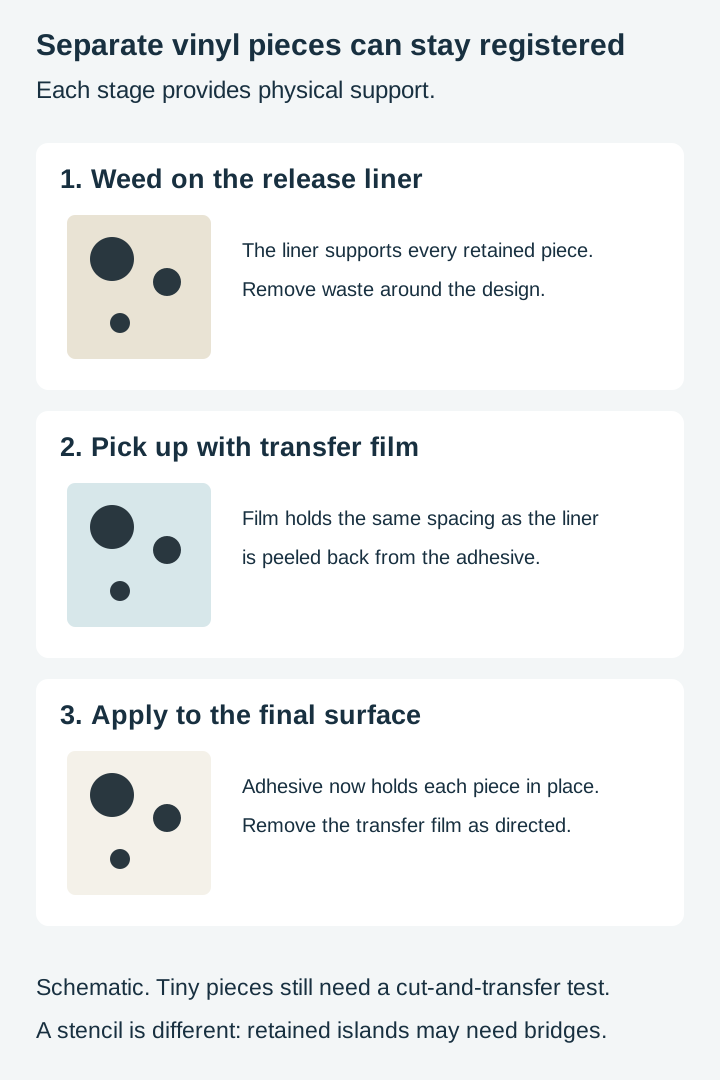
When a blade cuts vinyl, it slices all the way through the coloured film and stops at the backing paper. Now the design is not a picture anymore. It is a collection of physical pieces, each one held in place only by its own adhesive, and every one of them has to survive three separate mechanical events: being peeled apart during weeding, being lifted by transfer tape, and being pressed onto the final surface.
That is the whole thing. Every rule below is a consequence of it.
This is the part of the job we can speak to directly, because drawing the files is what we actually do here. We do not own a laser or a vinyl cutter, so we will not tell you what pressure setting to use. What we do know cold is which shapes hold together and which ones do not, because deciding that is the work.
What engraving forgives that cutting does not
Four things behave completely differently between the two operations.
Line width. Engraved marks have a finite process resolution. For a filled vinyl design, the two cut boundaries define a strip of material that must survive handling.
Islands. Engrave a design with a floating shape inside a ring and nothing happens, it is just more marking. Cut the same design and that floating shape becomes a separate physical piece you now have to keep, position, and transfer.
Density. Twenty fine strokes packed close together engrave as a texture. Cut, they become nineteen slivers of waste vinyl that are almost impossible to weed without dragging the good pieces with them.
Open paths. A laser can follow an open line and score it. A blade can make a useful intentional slit along an open path, but an open path alone does not define a closed weedable piece. Import behavior varies by application. Our post on open paths and why designs refuse to cut covers what that looks like in the file.
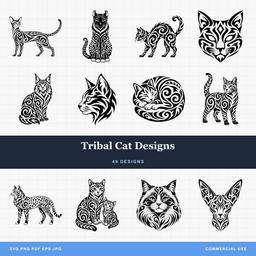 Tribal Cat Designs49 designs, commercial license included$3.99
The five ways a design fails in vinyl
Here is what actually goes wrong, in rough order of how often it happens.
1. Thin internal detail turns into threads
This is the big one. Fur texture, feather barbs, cross-hatching, whisker lines, the tiny strokes inside a tribal design where two heavy shapes almost meet. Engraved, they are the reason the design looks good. Cut, they are strips of vinyl narrower than the transfer tape's grip, and they lift, curl, or tear.
You usually notice at the weeding stage, when a piece you meant to keep comes away with the waste.
2. Small islands lift with the waste
A retained eye dot or a leopard spot may be an isolated piece surrounded by waste. A letter counter, by contrast, is usually waste in a positive vinyl letter; in a stencil it may be material you need to retain. If the island is small enough that the waste around it grips harder than its own adhesive does, it goes with the waste and you get a hole.
3. Bridges that were never needed become necessary
In an engraved design, a shape can float in the middle of nowhere because it is only a mark. In a cut design, especially anything you want as a stencil or cut from wood, a floating shape needs a physical connection or it falls out. Our stencil bridges guide covers how to add those without wrecking the artwork.
4. Overlapping shapes cut twice
Two shapes drawn on top of each other look like one shape on screen. Laser fill behavior depends on grouping and fill rules, and overlaps can also cause holes, omitted areas or repeat processing. A blade cuts both outlines, which means it slices through the middle of what you thought was a solid area, and the piece falls apart along a line you cannot see in the preview.
5. Node bloat makes the blade chatter
Too many poorly fitted segments can create tiny direction changes, slow processing and degrade edges on either machine. Smooth Bézier joins do not require a sharp turn merely because there is a node. We wrote about node bloat and where it comes from separately.
Telling before you cut, not after
Three checks, none of which take more than a minute.
Zoom to actual size and squint. Set the design to the real dimensions you will cut it at, then zoom the screen so it is physically that size. Use this as a legibility check, not a prediction of whether the blade will cut it. A full-size paper proof avoids screen-scaling uncertainty.
Look at the gaps, not the shapes. This is the trick that changes how you see a file. Your eye reads the design as the black parts. Your blade experiences it as the boundaries between black and white. Deliberately look at the white slivers between elements, because those are what you will be weeding, and a sliver too thin to grab with tweezers is a sliver that will fight you.
Test a difficult section at final scale. Isolate a representative detailed area without resizing it and cut it on scrap. It costs almost nothing and tells you everything the preview cannot.
What to do with a design that fails
You have four options, roughly in order of how much work they are.
Scale it up. The fastest fix by far. Every dimension multiplies, so a detail that was marginal at three inches is comfortable at six. This works right up until the piece no longer fits the thing you are putting it on.
Use the silhouette version instead. Many designs exist in both a detailed treatment and a bold solid one, and the bold one is not a lesser version, it is the version built for cutting. This is the whole reason our catalogue carries both styles for a lot of subjects.
Delete the detail that is not load-bearing. Interior texture usually contributes far less than you think at small sizes. Strip the fur strokes, keep the outline and the two or three interior shapes that define the animal, and the design often reads better, not worse.
Split it into layers. Instead of one piece with delicate internal cuts, cut two pieces in two colours and stack them. The layered vinyl guide walks through registration.
Here is how the same subject usually wants to be treated for each job. This is a design-side starting point drawn from how we build the files, not a measurement from our own machines, so treat it as a way to reason about a design and test on your own material before committing.
| Design element | Engraved on wood | Cut from vinyl |
|---|---|---|
| Fur or feather texture | Keep it, this is what sells the piece | Remove or simplify to a few bold strokes |
| Fine outline strokes | Test spacing and mark width | Needs real width, or convert to a filled shape |
| Small floating islands | No structural support needed for surface marks | Enlarge, or accept losing them |
| Cross-hatched shading | Reads as a tone | Almost never survives weeding |
| Bold silhouette outline | Works, sometimes plain | Works best, this is its home |
| Overlapping shapes | Check fill behavior and duplicate processing | Merge them first or the piece splits |
The version question, and why we ship both
Something worth understanding about how design packs are built: a detailed engraving file and a cut-ready silhouette of the same animal are not the same drawing at two quality levels. They are two different drawings that happen to depict the same thing.
The detailed one is optimised for tonal range. It uses line density to suggest shadow, and it assumes the material is staying in one piece.
The silhouette is optimised for structural integrity. Every shape is closed, every interior counter is large enough to weed, nothing floats without a reason, and the whole thing reads at a glance from across a room. That is a harder drawing to make well, which is why bad silhouette files are so common: someone took a detailed design, filled it in solid, and shipped it.
 Dog Lover Silhouette Pack32 designs, commercial license included$3.99
Check the listing previews for the styles actually included. Packs include SVG, PNG, JPG, PDF and EPS, and the commercial license is included with every purchase, so picking the wrong one costs you a re-cut and nothing else.
When it really is the machine
Do not spend an hour editing a file that was fine. If the bold outline also cuts badly, look at hardware instead:
- A dull or chipped blade, which shows up as ragged edges everywhere rather than only in detailed areas
- Blade depth set too deep, cutting through the backing so pieces shift
- Too little pressure, leaving cuts that do not fully separate
- Old or cheap vinyl with adhesive that has hardened
- Transfer tape that is too weak for small pieces, or too strong and lifting them off the final surface
The tell is uniformity. Fine-detail failures can come from geometry or setup. A simple control cut and a detailed test at final scale help separate the causes.
Working the other direction
Everything above assumes you are moving from wood to vinyl. Going the other way is easier but has one trap: a design built for cutting can look empty engraved. A bold silhouette can engrave clearly, but a large version may benefit from an interior treatment or border if that suits the subject.
If you have a cut-optimised file and you want to engrave it, add something back. An interior line treatment, a texture fill, or a border. Or choose a detailed file when the listing includes one.
Where to start
If you have been fighting a file that will not behave in vinyl, try the boldest design you own before you try fixing the delicate one. Silhouette-style packs weed fast, transfer clean, and make for the kind of project that finishes in an evening.
Our silhouette and bold-style packs are built for exactly this, and if you want the detailed engraving treatments too, most subjects carry both. Every pack is $3.99, includes the commercial license with no unit cap, and print-on-demand is allowed, which most design sellers do not permit.
Designs for this project
Frequently Asked Questions
Why does my SVG cut fine on wood but tear on vinyl?
Because engraving makes a mark and cutting makes a separation. An engraved mark is limited by the spot size, material response and spacing, but it does not have to hold together as a separate strip. A cut line has to leave material on both sides of it that is wide enough to stay stuck to the backing and survive being peeled, weeded, and transferred. Fine internal detail that reads beautifully as a scorch becomes a row of unsupported slivers in vinyl.
What is the thinnest detail that survives in vinyl?
There is no single number, because it depends on the vinyl, the blade, the transfer tape, and how patient you are. As a design-side rule we build cut-intended artwork so no feature is meaningfully narrower than the rest of the design's linework, and we treat anything approaching hairline width as a candidate for thickening or removal. Test on a scrap before committing a full sheet.
Can I just scale the design up so the thin parts survive?
Often yes, and it is the fastest fix. Scaling multiplies every dimension, so a sliver that was too thin at three inches may be fine at eight. The limit is that your project usually has a fixed size, and scaling past it means the design no longer fits the blank.
Do islands always need bridges in vinyl?
No. Vinyl is different from a stencil. An island in vinyl is a separate piece that stays on the backing when you weed around it, and transfer tape picks it up in position. Bridges matter when the island is so small it lifts with the waste, or when you want it mechanically joined for a stencil or a cut-from-wood version.
Is it the file's fault or my machine's?
Check the file first, because it is faster. If fine detail fails but the outline works, inspect the feature widths and gaps, then test the blade and material settings. Setup faults can affect fine detail first. If simple shapes also fail, check blade condition, pressure, material support and adhesion.