You lined the design up perfectly, sent it to the machine, and it came back rearranged, in pieces, or both. The letters that were meant to flow into each other cut as separate shapes, and the layout you spent ten minutes on is scattered across the mat.
Design Space has four commands that look like they do roughly the same thing. They do not, and picking the wrong one is behind most of these problems.
Tip
Short answer: group is organisational and the machine ignores it. Attach keeps shapes where you put them. Weld merges them into one shape permanently. Slice cuts one shape out of another. Group for tidiness, attach for layout, weld for connected lettering.
The one that does nothing to the cut
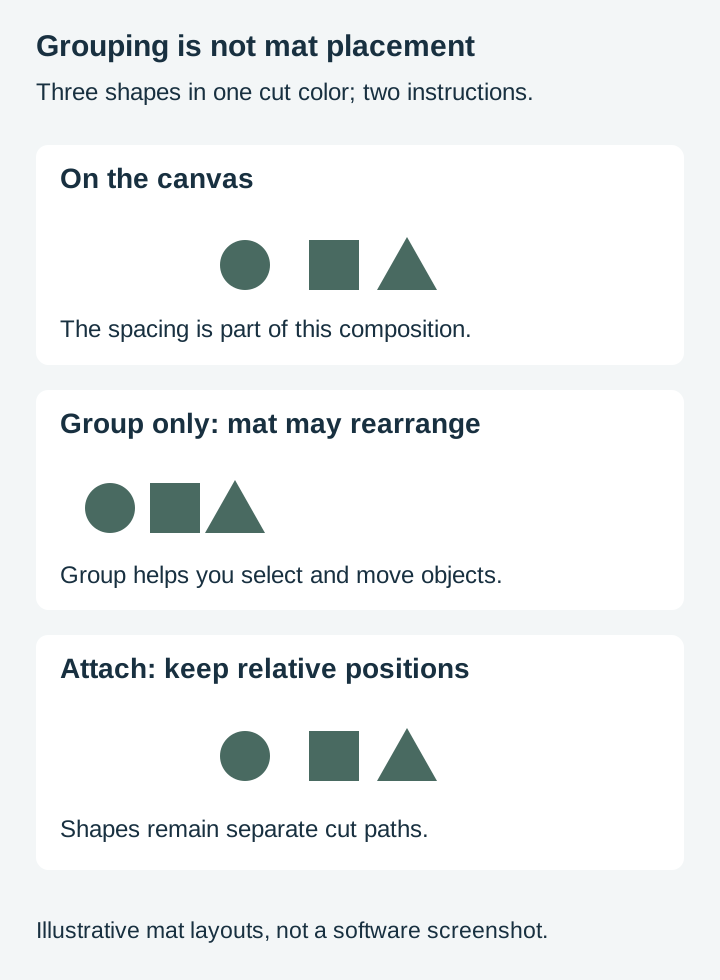
Group is a convenience for you, not an instruction for the machine.
It bundles objects on the canvas so you can move and resize them together. It is genuinely useful while you are designing, and it has no effect whatsoever on what the machine does. A grouped design still gets rearranged on the mat, and its shapes still cut as separate pieces.
That is the source of a good deal of confusion, because grouping looks like it should hold things together. It holds them together for you. It says nothing to the cutter.
The one that preserves your layout
Attach is the answer to "why did my design move".
Design Space arranges shapes on the mat to use material efficiently. Left alone it will happily pull apart a design you spaced deliberately, because it has no way to know the spacing was intentional rather than incidental.
Attach tells it otherwise. Attached shapes stay in their current positions relative to each other, and the whole arrangement is placed on the mat as a unit.
Two situations need it constantly:
Multi-piece layouts that must line up. A design where several pieces form one composition, each still cut separately but positioned exactly.
Score lines. A fold line has to stay exactly where it is relative to the piece it folds. Attach the score line to the shape or the machine will place it somewhere else entirely, and you will get a fold across the wrong part of a card.
Attach is reversible and non-destructive. It changes arrangement, not geometry.
The one that changes the shape
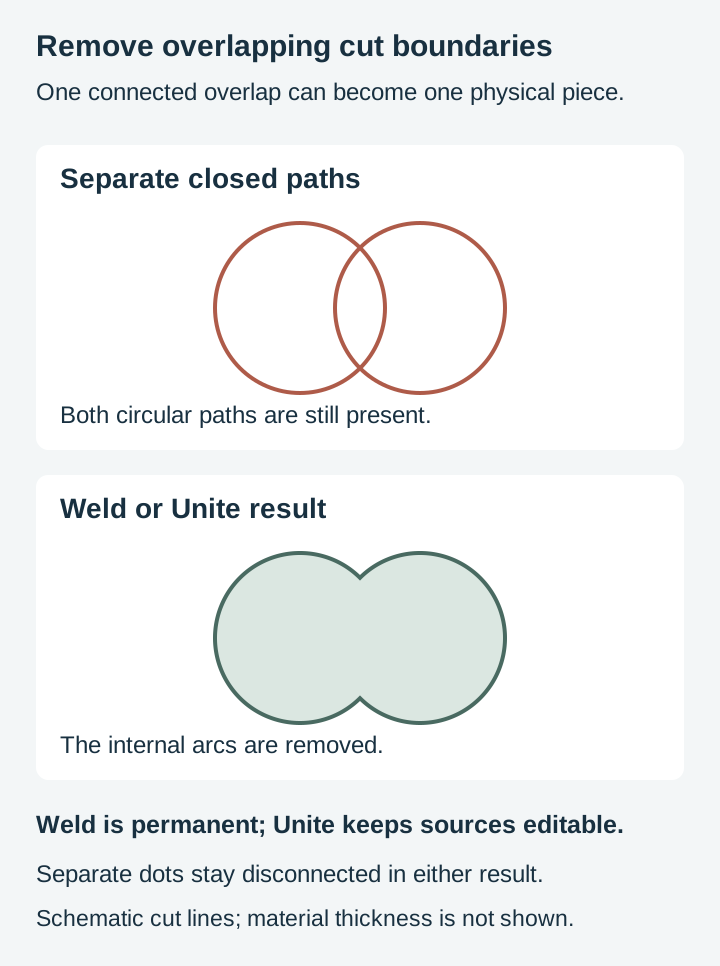
Weld merges selected shapes into one layer and removes internal cut boundaries where they overlap. A connected overlap can become one physical piece; detached dots and other disconnected regions still cut as separate pieces.
This is the command for connected script lettering, and it is what people are usually looking for.
Script fonts are drawn so each letter runs into the next. Those letters are still separate shapes, and the places they appear to join are just overlaps. Send that to a machine and it cuts every outline, including the buried arcs where letters cross, so a name that looked like one flowing word arrives as a pile of letters with slices through them.
Welding removes those internal boundaries. Overlapping strokes become one cut shape. Intended holes inside letters remain, and detached dots still need to be transferred separately.
It is the same operation Inkscape calls Union, which our boolean operations post covers in more depth if you work in both.
Weld is destructive. It replaces the originals with the merged result. Undo will get them back while you are still working, but once the project is saved and reopened they are gone. Duplicate before welding anything you might want to edit later, particularly a name you may need to change for a different customer.
Unite keeps the source shapes editable. For a similar merged cutting result while you are still adjusting letters or shapes, use Combine → Unite. You can edit or undo that combination until you merge its layers. Cricut’s Combine, Weld and Slice guide explains the distinction.
The one that subtracts
Slice cuts one shape out of another, and it works on exactly two shapes at a time.
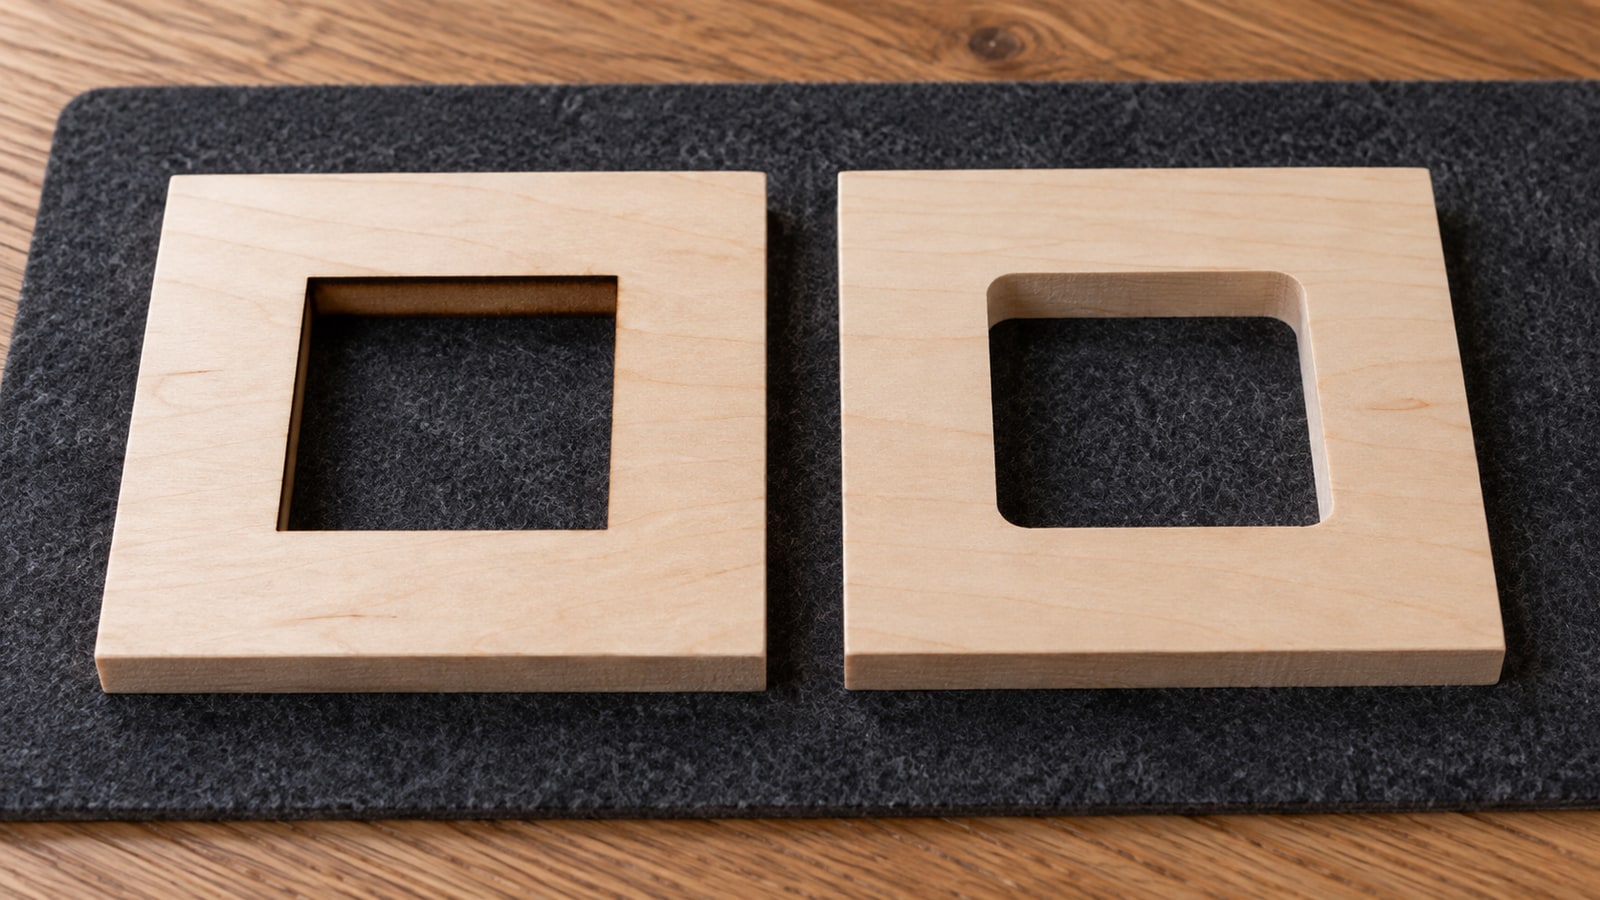
Put a circle over a tag and slice, and you have a hanging hole. Put text over a rectangle and slice to remove the letters. For a reusable stencil, add bridges to retained islands such as the center of O; Slice does not support those islands for you.
Slice produces several resulting pieces and leaves them stacked on top of each other on the canvas, which is why it looks like nothing happened. Drag the top piece aside and the rest are underneath. Delete the parts you do not want.
The two-layers-only limit catches people out. Exactly two visible layers must be selected. Text and hidden layers have additional rules, especially on mobile, so check the layer structure if Slice stays unavailable. Combine → Subtract can remove multiple selected objects from the bottom layer while retaining an editable combination.
Choosing
| What you want | Use | Destructive |
|---|---|---|
| Move several things together while designing | Group | No |
| Keep pieces in position on the mat | Attach | No |
| Keep a score line where you put it | Attach | No |
| Make connected script cut as one piece | Weld | Yes |
| Merge overlapping shapes into one outline | Weld | Yes |
| Merge shapes while retaining editable sources | Unite | No, until Merge Layers |
| Punch a hole or knock text out of a shape | Slice | Yes |
| Combine layers into one flat printable image | Flatten | Reversible with Unflatten |
Flatten is worth a mention since it sits in the same menu. It turns a multi-layer design into a single printable image for Print Then Cut, which is a different job entirely from the others, and unlike weld and slice it can be undone later with Unflatten. Our print then cut post covers that workflow.
Where it goes wrong
Welding when you meant to keep layers separate. The classic and the expensive one. Two vinyl layers meant to be cut in different colours get welded into one shape, and now they are one colour and one piece. Different colours need to stay as separate layers so they go to separate mats, and attach is used within a colour rather than across colours.
Attaching when you meant to weld. Script letters attached rather than welded stay in position but still cut as separate letters, so the word arrives correct but in pieces.
Grouping and expecting either. Group does neither. If the design moved or came apart after grouping, that is grouping working as designed.
Welding text you will need to edit. Once a name is welded it is a shape, not text. A repeat customer wanting the same design with a different name means starting from the original, which is why you keep one.
Slicing more than two visible layers. Reduce the selection to two appropriate layers, or use Combine → Subtract for multiple cutouts. Keep an editable copy before a destructive operation.
The order that avoids most of it
- Design and position everything while shapes are still separate and editable.
- Weld what needs to be one piece. Script names, overlapping shapes that form a single silhouette.
- Slice what needs holes. Hanging holes, knocked-out text.
- Attach what needs to stay in position. Score lines, multi-piece layouts, anything spaced deliberately.
- Send it, and check the mat preview before you cut. The preview shows what will actually happen, and it is the last cheap opportunity to notice that something has been rearranged or merged.
Step five is the one worth building as a habit. The mat preview is the software telling you exactly what it understood, and reading it takes about three seconds.
Why an SVG behaves differently
Worth knowing if you use files from outside Design Space.
An uploaded SVG arrives with its own structure already decided. Overlaps that were merged before export stay merged, and paths that were separate stay separate. Colours in the file usually become separate layers.
That means a well-built file needs less of this than a design assembled from scratch on the canvas. If a pack's script lettering already comes as one merged path, there is nothing to weld. Our text to paths post covers what should have happened before a lettering file ever reaches you.
Where uploaded files do still need attention is layout. Attach is about arrangement on the mat, and that decision is yours regardless of how well the file was built.
Where to start
Take two shapes that overlap, a circle over a square will do, and send them to the mat preview without welding. The buried boundary where they cross shows up as a cut line the machine intends to follow, and seeing that once explains the whole command in a way reading about it does not. Script text is a less reliable demonstration, since Design Space handles overlapping kerned letters in the preview while the text is still editable.
Every design in our catalogue ships as SVG, PNG, JPG, PDF, and EPS in several artwork styles. Inspect the selected design’s paths and layers after import, and assign its operations for your project. Browse the full catalogue at $3.99 a pack, commercial license included with every purchase and no cap on how many physical products you sell.
Frequently Asked Questions
What is the difference between weld and attach?
Weld permanently merges shapes into one outline, so overlapping cut boundaries disappear. Disconnected parts remain physically separate. Attach leaves the shapes separate but tells the machine to keep them in their current positions relative to each other. Weld changes the geometry. Attach only changes the arrangement.
Why did my design rearrange itself on the mat?
Because nothing told the software to keep the layout. Design Space rearranges shapes to use material efficiently unless they are attached, so a carefully spaced design gets scattered across the mat. Attach is what preserves the arrangement you set up.
Can I undo a weld?
Only with undo, in the same session. Weld is destructive: it replaces the original shapes with one merged shape, and once the project is saved and reopened those originals are gone. Duplicate anything you might want back before you weld it.
Why do my script letters cut into separate pieces?
Because connected script letters overlap rather than actually joining, and the machine cuts every outline it is given, including the buried parts where letters cross. Welding merges them into one continuous shape so the blade only follows the outside.