Small items are where a design gets found out. A bird with beautifully feathered wings looks incredible at eight inches on a sign. Cut the same file at two inches for a keychain and the feathers merge into a smudge, three of the little separations fall out entirely, and the tail snaps when you pop it off the sheet.
The reflex is to blame the machine, or the material, or the file. Usually none of those is the problem. The problem is that the design was asked to be something it never had the geometry to be.
This is one of the few areas where we can speak from direct knowledge rather than borrowed numbers. We do not run machines, but we draw the files, and the drawing determines the strokes, gaps and connections you ask the material to reproduce. The actual result also depends on the machine, material and settings.
Tip
The short answer: detail survives at small sizes when the thinnest part of the design stays above the minimum for your process and material, and scaling down never achieves that because it shrinks strokes and gaps at the same rate as the outline. Pick a simpler design drawn for the size, not a shrunken detailed one.
Two separate questions, and the harder one wins
When people ask "how much detail can I get", they are actually asking two questions that have different answers.
Can the process make a mark that fine? A laser can engrave a line no narrower than its beam spot. A blade can only follow a path so tight before the drag angle stops tracking. A router bit cannot cut an interior corner sharper than its own radius.
Can the material hold that shape once it exists? A narrow strand of plywood may snap during handling, a tiny vinyl island may lift during weeding, and a slender cardstock bridge may tear when folded. The threshold depends on the material and geometry.
Your real detail limit is whichever of those two is larger, and for almost every small item the material is the one that bites. Machines are usually capable of finer work than the finished piece can survive.
That distinction matters because it changes the fix. If the process is the limit, a better machine or a tighter focus helps. If the material is the limit, a stronger material, more thickness, better support or revised geometry may help.
Scaling down is not the fix
This is the single most common mistake, and it is worth being blunt about.
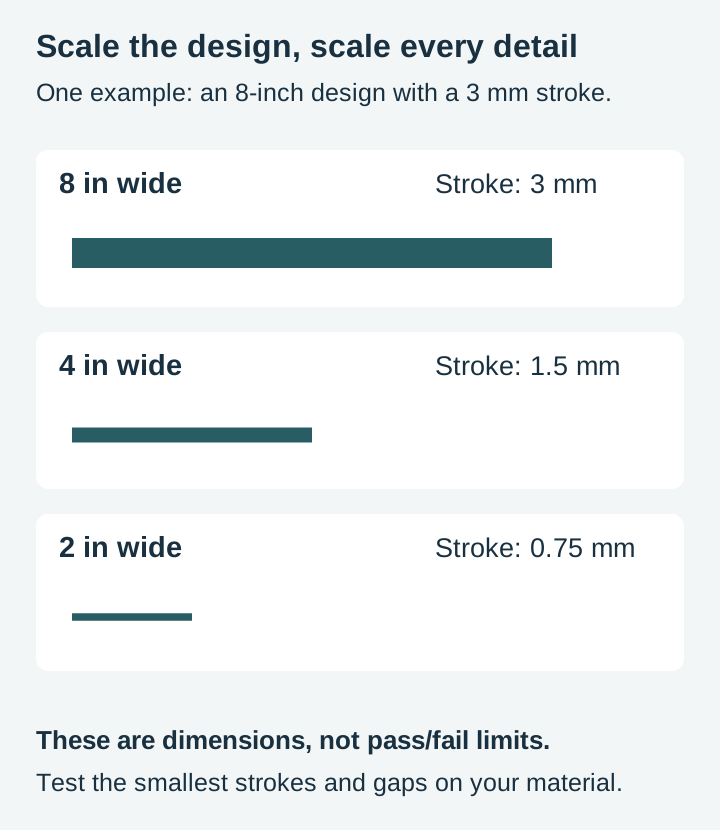
Scaling is uniform. When you set a design from 8 inches to 2 inches, every measurement inside it goes to a quarter. The outline gets smaller, which is what you wanted. The 2 mm gap between two feathers becomes a 0.5 mm gap, which is not. The 3 mm thick tail becomes 0.75 mm.
So a design does not "lose detail" when you scale it down. It keeps exactly the same detail, expressed at a size where the process and the material cannot deliver it. Every relationship in the drawing is preserved and every one of them is now below threshold.
Once you see it that way, the design brief for a small item becomes obvious. You do not need a smaller version of the detailed design. You need a different design with fewer elements, drawn at larger relative weight, so that when it sits at two inches the thinnest thing in it is still comfortably above the floor. For the mechanics of scaling cleanly when you do resize, see our guide to resizing SVG files without losing quality.
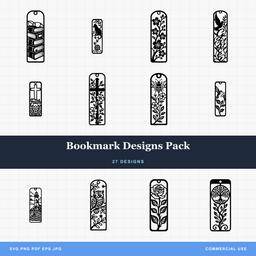 Bookmark Designs Pack27 designs, commercial license included$3.99
Positive detail, negative detail, and what actually falls out
Two kinds of detail fail in opposite directions, and it helps to name them.
Positive detail is material that stays: a whisker, an antenna, the thin stem of a leaf, the crossbar of a letter. Positive detail fails by breaking. It is too weak to survive being handled, so it snaps off in your fingers or lifts away with the waste.
Negative detail is material that goes: the gap between two feathers, the eye hole in an animal head, the counter inside a letter O. Negative detail fails by closing up or by falling out. In engraving, nearby marks can merge and obscure a small unmarked gap. In through-cutting, kerf widens openings and removes material from the strips between cut paths. A fully enclosed retained island needs support; a counter intended as waste should be removed.
Both matter at small sizes and they pull in opposite directions. Thickening strokes to fix positive detail narrows the gaps and makes negative detail worse. That tension is exactly why a design drawn for two inches has to be drawn for two inches, not derived from one drawn for eight.
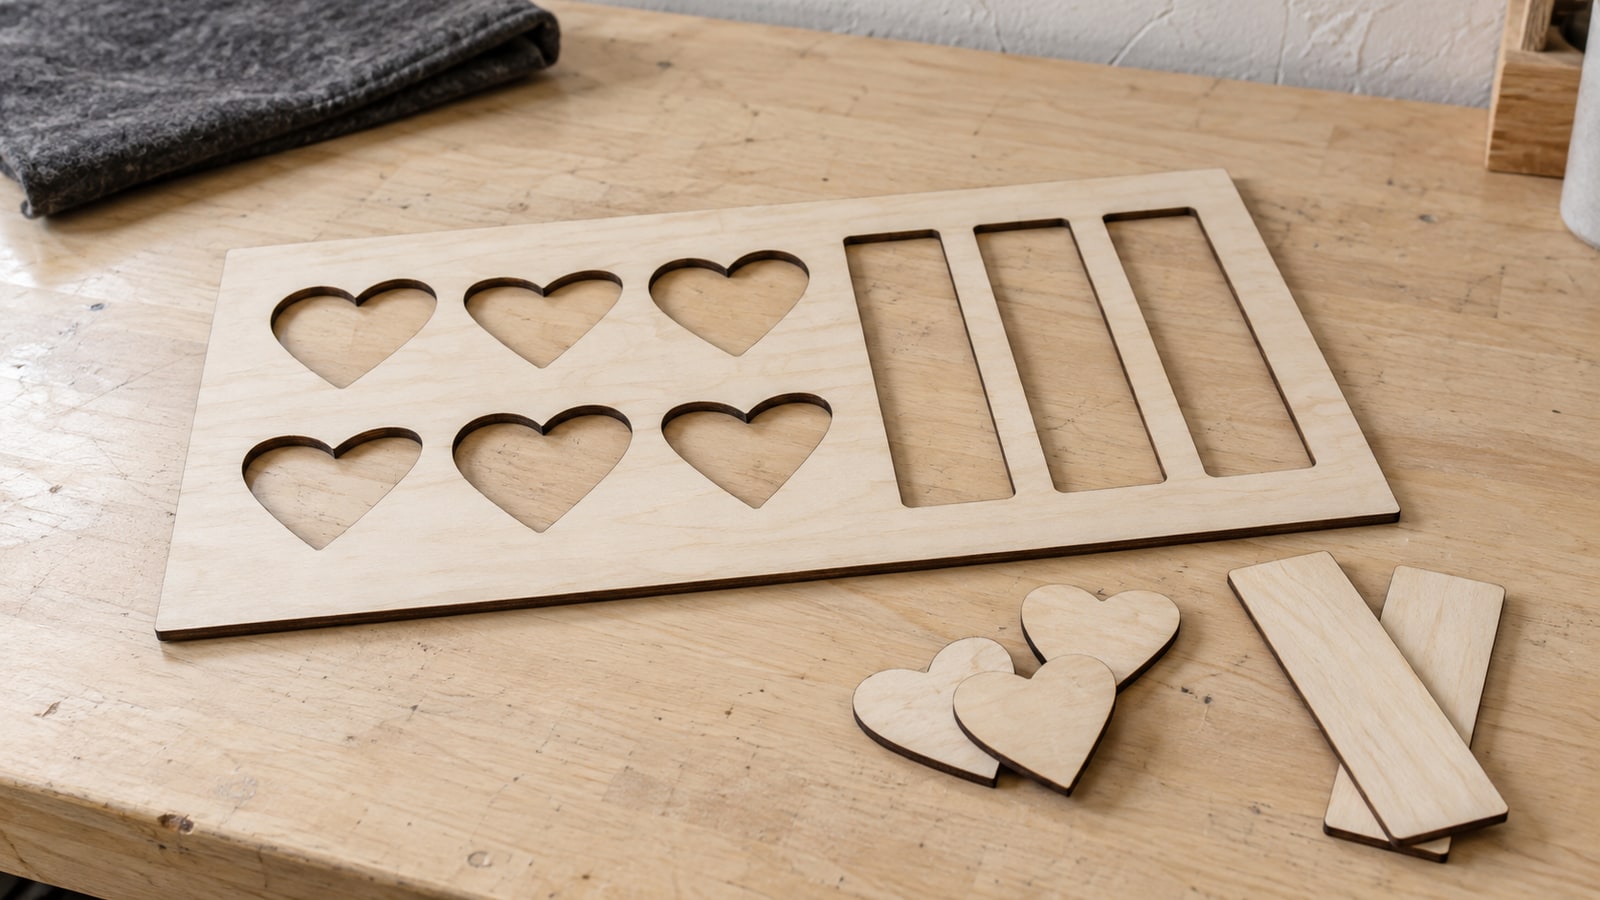
The third category is the one that catches people out: floating pieces. If a shape is entirely surrounded by cut line, nothing holds it. In a laser cut it drops through the grate. In adhesive vinyl, separate positive pieces can remain on the liner and transfer tape until they are applied. Through-cut wood or acrylic islands need bridges, a backing or a separate assembly plan. The intended construction determines whether a disconnected shape is a problem.
Kerf, and why it eats narrow strips
Kerf is the width of material a cut removes. A blade barely has one. A laser has a real one, because the beam vaporises a strip of material along its path. A router bit has a large one, exactly its own diameter.
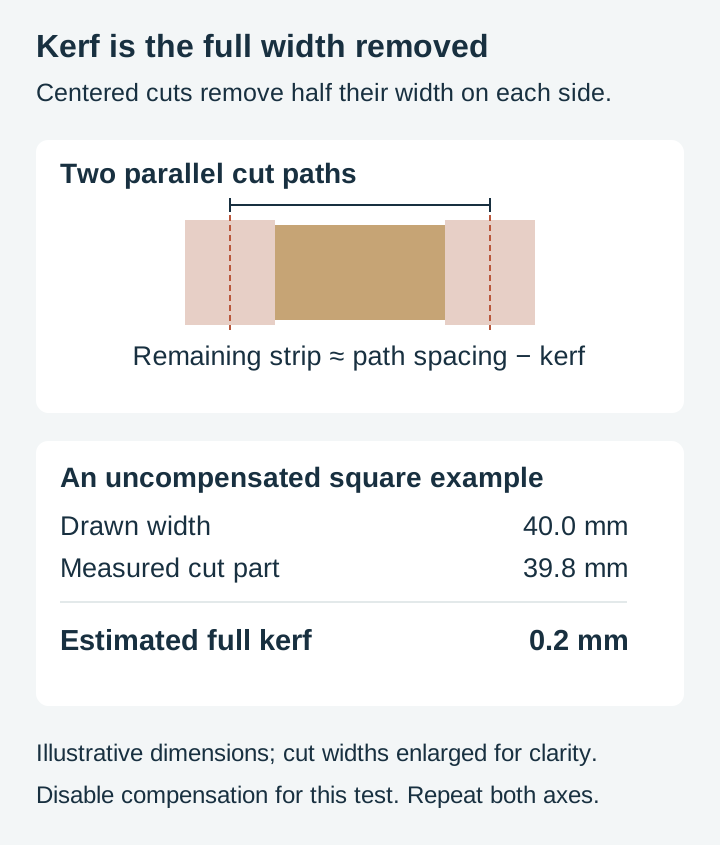
The consequence for small detail is direct. For two parallel, uncompensated cut paths separated by distance s, each cut removes half its kerf toward the strip between them. With equal kerf k, the remaining strip is approximately s minus k. At s less than or equal to k, no strip remains; a wider strip may still be too fragile to use. That is why a fine engraved-looking line pattern turns into a slot when you cut it instead of engraving it.
For a sense of scale, the laser cutting service CutLaserCut publishes a kerf table for their CO2 machines listing roughly 0.20 mm on 3 mm birch plywood and about 0.18 mm on 1 to 3 mm acrylic, with the overall range across materials running from 0.08 mm to 1 mm. Ponoko puts their average at about 0.2 mm on 3 mm clear acrylic. Both are commercial CO2 services rather than machine manufacturers, and neither figure will match a diode machine, so use them as a sanity check and nothing more.
You need your own number, and it takes one test piece:
- Draw a square of a known size, say 40 mm, and cut it from the material you plan to use.
- Measure the finished square with calipers.
- With kerf compensation disabled, drawn width minus the cut part’s measured width estimates the full kerf. For a 40 mm square measuring 39.8 mm, that is 0.2 mm, not 0.1 mm. Measure both axes and repeat to account for variation. If you instead compare the matching hole and part widths, divide that difference by two.
Record the material, thickness and settings, and retest when stock or setup changes. Ponoko’s kerf example uses the same 40 mm square relationship. Check remaining strip width and handling strength separately; neither is guaranteed by a multiple of kerf.
Note that kerf also shifts every fit. Slots come out loose, tabs come out narrow, and inlay pieces rattle. That is a separate topic, but the same measurement solves it.
Engraving detail and cutting detail are not the same thing
This is the most useful realisation for small items, and it is the one that rescues most designs.
An engraved line does not have to be structurally sound. It is a mark on a surface, nothing more. Its limit is the beam spot size, the contrast the material gives, and whether your eye can resolve it at arm's length. The published spot size is a starting reference; focus, heat spread, scan overlap, material response and contrast affect the visible result.
A cut line has to leave behind a piece that survives handling, and the cut removes material on both sides. It has two limits stacked on top of each other.
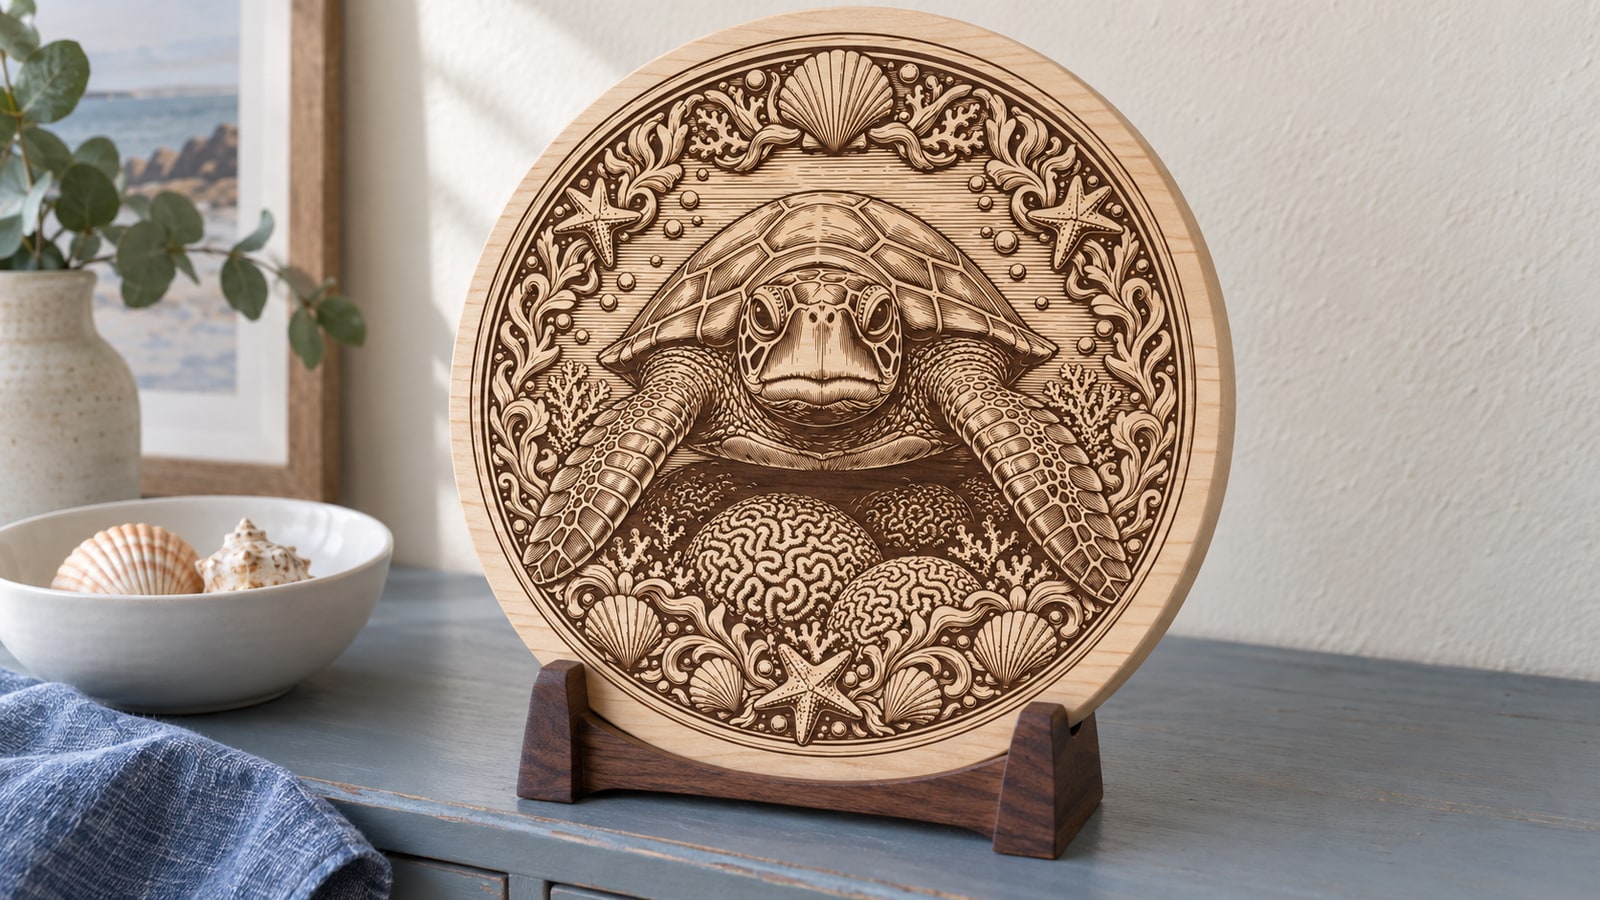
Engraving often permits finer decorative detail because the intact base supplies support. A small feathered bird may work better as surface marking inside a simple outline than as many delicate through-cut feather shapes. So the move on a small item is often not "simplify the design" but "change what the detail is doing": cut the silhouette, engrave the interior.
That single decision fixes more small-item projects than any settings change. A keychain, a bookmark, an ornament, a pendant, a bag tag: all of them want a bold cut outline with the fine work engraved inside it.
| Process | What to check at finished size |
|---|---|
| Through-cut wood, acrylic or cardstock | Remaining bridges, grain or fiber direction, heat damage and handling strength |
| Laser engraving | Visible contrast, smallest separated marks, focus and material response |
| Adhesive vinyl or HTV | Strokes, weedable gaps, liner or carrier support, and cut quality |
| CNC routing with a round end mill | Tool access, inside corner radius, remaining walls and workholding |
A 1/8-inch cylindrical end mill cannot enter a narrower slot, and leaves an inside corner radius of at least half its diameter. That does not mean every retained wall must be one tool diameter thick: wall strength is a separate question.
Ponoko’s design guidance warns that sub-1 mm features can be fragile and directs customers to material-specific limits. Use your supplier’s guidance and test pieces rather than a universal minimum for all machines.
Choosing a simpler variant instead of shrinking a complex one
Most well-built packs contain both kinds of design, and knowing which is which is a skill worth having. Here is what to look for when you need a small-item design.
Fewer separate elements. Count the distinct shapes. Four is a small-item design. Forty is a sign design.
Weight in the strokes. Look at the thinnest line in the drawing relative to the whole. If the thinnest stroke is a fiftieth of the overall width, it will be under half a millimetre on a two inch piece. A stroke one twentieth of the width is much broader, but still needs to suit the process and handling.
Closed shapes over open linework. A filled silhouette scales down far better than a line drawing of the same subject, because a filled shape has no thin strokes to lose.
Detail concentrated, not scattered. A design with one detailed area and a lot of calm space survives shrinking better than one with fine texture spread edge to edge, because you can drop the detailed area to engraving and cut the rest.
Generous interior spacing. Elements that almost touch at full size will merge at small size. Elements with visible breathing room stay separate.
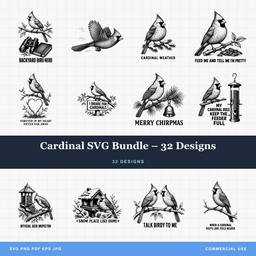 Cardinal SVG Bundle – 32 Designs32 designs, commercial license included$3.99
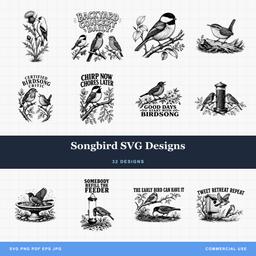 Songbird SVG Designs32 designs, commercial license included$3.99
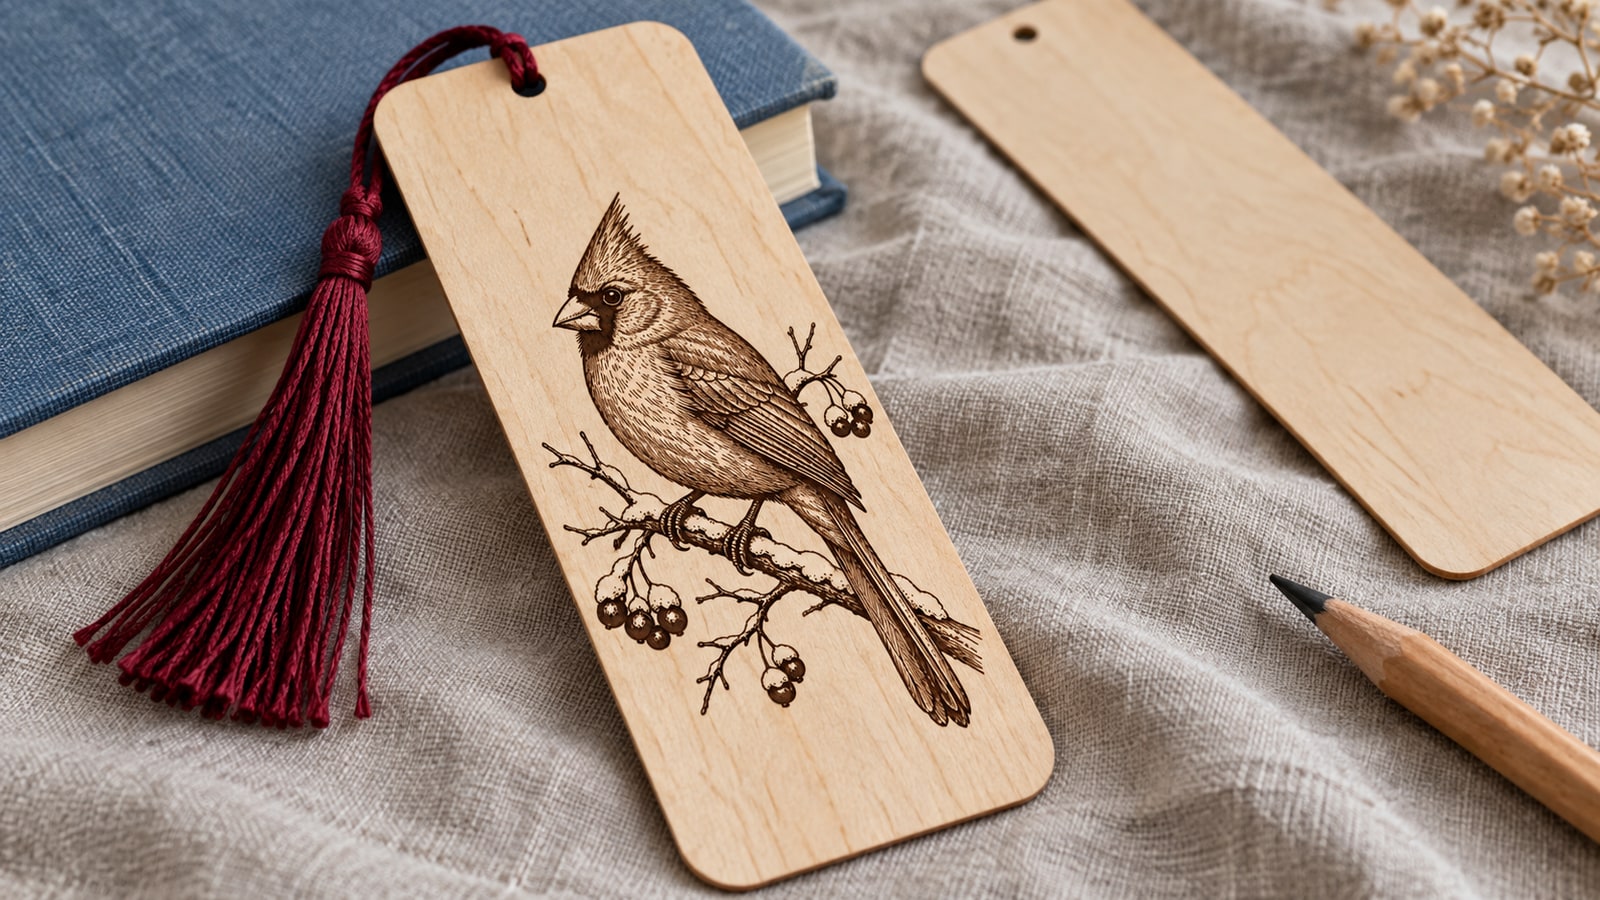
Bird designs are a good test case for all of this, because feathers are exactly the kind of fine repeated detail that dies at small size as a cut and thrives as an engraving. On a bookmark, the outline is a simple rounded rectangle and every bit of the bird happens as surface marking. That is why bookmarks are such a forgiving first small-item project.
Simplifying a design yourself
If you have a design you love and it is too fine for the size, you have real options before giving up on it.
-
Move the interior to engraving. Keep the outer silhouette as the cut path and set everything inside it to engrave or score. This is the highest-value change and often the only one needed.
-
Thicken thin strokes with an offset. In Inkscape, an outset applied to a path grows it uniformly. Applied carefully to the thin elements only, it raises them above the floor without changing the design's character. Watch the gaps, because outsetting positive shapes narrows the negative space between them.
-
Merge near-touching shapes. Two elements separated by a hairline are going to fuse anyway. Uniting them deliberately gives you a clean result instead of a ragged one.
-
Delete decorative texture. Fine hatching, speckle, and repeated fill patterns carry almost no meaning at two inches and cause most of the failures. Removing them usually improves the piece.
-
Round the interior corners. Sharp inside corners are where cardstock tears, acrylic cracks, and vinyl starts to lift. A small radius costs nothing visually.
-
Cut a detail ladder before committing. Put the same design on the sheet at four sizes, cut all four, and see where it falls apart. The test gives you a useful reference for that material and setup. Recheck when the stock, process or geometry changes.
Our guide to acrylic laser cutting and engraving goes deeper on how a single material behaves differently under cutting and engraving, which is the same distinction at the heart of this post.
Sizes worth knowing
Rough finished dimensions for the small items people actually make, with the design approach that suits each.
| Item | Typical size | What works |
|---|---|---|
| Earrings | 20 to 40 mm | One solid shape, engraved detail only |
| Keychain or bag tag | 40 to 60 mm | Bold silhouette cut, fine work engraved |
| Bookmark | 40 x 150 mm | Simple outline, generous engraved interior |
| Pendant | 25 to 40 mm | Single shape, no floating pieces |
| Ornament | 60 to 90 mm | Silhouette with a few large cutouts |
| Coaster | 90 to 100 mm | Detail is comfortable, engrave freely |
| Fridge magnet | 50 to 70 mm | Solid shape, avoid thin protrusions |
At small sizes, a solid outline with surface decoration is a useful starting point. Cutouts can still work when their connections are sturdy enough; larger items also need their narrowest features checked.
For vinyl specifically, the limit is not the blade but the weeding, and small vinyl work fails in its own particular ways. Our guide on how to weed vinyl without tearing the design covers where that line sits.
Designs drawn for small pieces
Every pack on PrintCutCarve is $3.99 and ships as SVG, PNG, JPG, PDF, and EPS, with a commercial license included in the price. There is no cap on the number of physical items you can make and sell, and print-on-demand production is permitted as well. The one restriction is that the digital file itself may not be resold or redistributed.
If you are making small pieces, start with designs built around a strong outline: the bookmark pack for the classic small-item project, or the birds collection for silhouettes that cut clean and engrave beautifully at ornament and keychain sizes. The packs listed below are the ones we would reach for first.
Designs for this project
Bookmark Designs Pack27 designs, commercial license included$3.99Cardinal SVG Bundle – 32 Designs32 designs, commercial license included$3.99Songbird SVG Designs32 designs, commercial license included$3.99 Compass Rose Designs26 designs, commercial license included$3.99
 Christmas Ornament Designs38 designs, commercial license included$3.99
Frequently Asked Questions
Why does my design look terrible when I scale it down?
Because scaling is uniform. Shrinking a design to half size halves every stroke and every gap along with the outline, so detail that was comfortable at 6 inches is half as wide at 3 inches and a quarter as wide at 1.5 inches. The design did not get worse, it got thinner. The fix is a design drawn with fewer, bolder elements rather than a smaller copy of a detailed one.
Can I engrave finer detail than I can cut?
Yes, substantially. An engraved line only has to be visible, so its limit is the beam spot size and how well the material holds contrast. A cut line has to leave behind a shape strong enough to survive being handled, and the cut itself removes material width. Cut detail is limited by physics on both sides, engraved detail only on one.
What is the smallest detail a laser can cut?
There is no single number, because it depends on your beam width, your material, and how much handling the finished piece has to survive. The useful method is to measure your own kerf by cutting a known square and comparing it to the design, then checking how much material remains between nearby cut paths and testing whether thin parts survive handling. Kerf alone is not a strength limit.
How do I know if a design will work at bookmark size before I cut it?
Set the design to the exact finished size in your software, then zoom in on the narrowest part and check its measurement. Anything under the minimum for your process and material will close up, fall out, or snap. Doing this takes under a minute and saves a sheet of material.