You have a design cut, engraved or carved, and it needs to be filled or coated with something clear and glossy. Then the shopping starts. One bottle promises a cure in sixty seconds under a little lamp. Two bottles beside it want mixing, forty five minutes of working time and three days of patience. They cost about the same. Nothing on either label tells you which one your project needs.
They are not competing products. They set hard by two completely different mechanisms, and that difference decides everything else about them.
Tip
Short answer: UV resin for small, shallow, fast work such as charms, jewellery and a domed coating on a flat surface. Two part epoxy for anything with real depth, a filled recess, a coaster, a tabletop or a deep bezel. Depth, opacity, total volume and light access all affect the choice.
The one difference everything else follows from
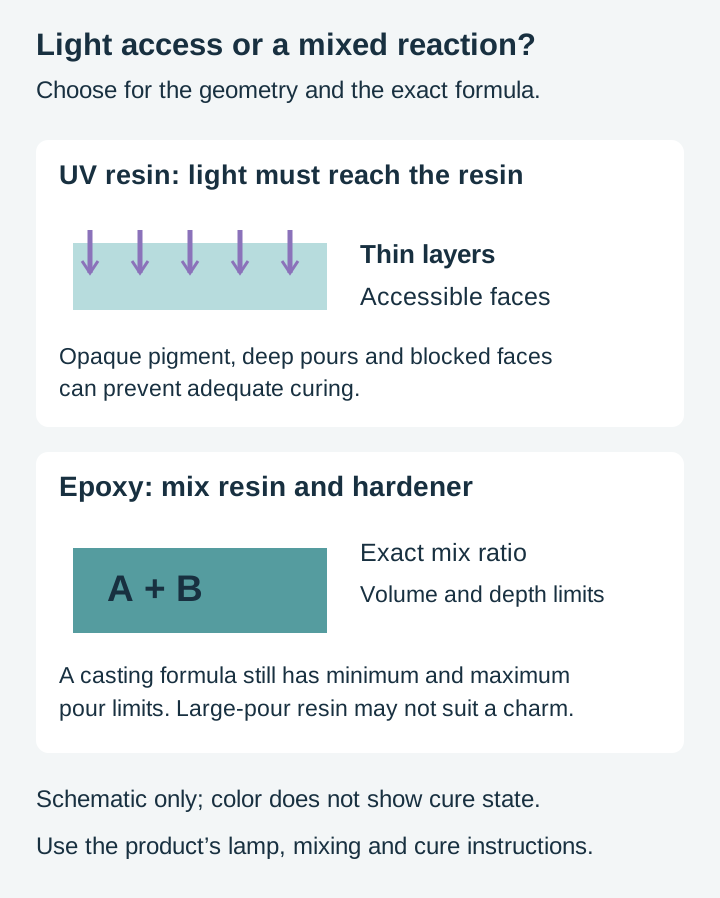
UV resin cures because light hits it. A photoinitiator in the resin reacts to UV wavelengths and the liquid goes solid wherever that light reaches. Fast, controllable, and completely dependent on the light getting through.
Two part epoxy cures because two chemicals react with each other. Once resin and hardener are mixed in the correct ratio, the reaction proceeds throughout properly mixed material without needing light, at a rate affected by temperature and the product’s formulation.
Every advantage and every frustration in this post traces back to that. Light has to travel through the material, so UV resin is limited by depth. A chemical reaction generates its own heat, so epoxy is limited by mass and by how carefully you measured.
UV resin: fast, shallow, and unforgiving about thickness
The appeal is obvious the first time you use it. Padico's published cure table for their UV-LED resin range gives 30 to 120 seconds per side under a 6W to 9W UV-LED lamp, and 1 to 2 minutes per side for their Sky Drop formula. Bright sunlight lands in a similar range. On a cloudy day the same instructions stretch to 10 to 20 minutes per side.
You can make a finished charm in an afternoon and make thirty more before dinner. Nothing else in resin work moves at that speed.
The catch is depth. Padico's own instructions say to pour an approximately 3mm thin layer and cure it, then repeat that a couple of times when making a piece 1cm or thicker. The same instructions warn that resin may not cure completely in opaque moulds because the UV-LED light is not exposed uniformly, and that coloured resin needs longer than clear.
That is the whole story in one paragraph. Pour a UV resin charm 8mm deep in one go and the top skins over beautifully while the bottom stays liquid, because the light never got there. It feels solid when you demould it, then dents under your thumbnail a week later.
Where UV resin earns its place:
- Small charms, earrings and pendants, especially in shallow open back bezels
- A clear domed coating over a flat printed insert or a laser engraved surface
- Anything you need finished today, or a sample you want to check before committing
- Precise spot work, since you can cure one small area and leave the rest liquid
Where it will let you down:
- Deep moulds, thick pours, anything past a few millimetres in a single layer
- Heavily pigmented or opaque resin, where the pigment blocks the light it needs
- Large flat areas, because holding a lamp over a wide surface evenly is fiddly
- Cost per gram, which is high compared to epoxy once your pieces get bigger
Small pieces are also where design detail decides whether the thing looks good. A curved resin dome can magnify or distort fine details, so check a sample at the intended size. Bold shapes with generous gaps survive that treatment. We cover the sizing side of this in SVG detail for small items.
Cartoon style designs work particularly well under resin for exactly that reason. Thick outlines, closed shapes and simple internal detail stay readable at charm scale and through a curved lens of clear resin.
 Coffee Cup Cartoon Characters30 designs, commercial license included$3.99
Two part epoxy: patient, deep, and fussy about numbers
Epoxy is the one you use when the project has volume. Because curing does not depend on light penetration, epoxy can work in opaque or deeper applications within its specified pour limits. It becomes a heat problem instead, which is why manufacturers publish maximum pour depths and why those depths vary enormously between products.
The variation is not marketing. Coating epoxies and deep pour epoxies are formulated for different jobs and the numbers show it.
ArtResin, formulated as a surface coating rather than a casting resin, publishes a 1/8 inch pour depth per layer. Their guidance is that this depth lets bubbles escape properly and avoids excessive overheating, and they note that their 72 hour cure figure is based on a 1/8 inch layer, so a thicker pour will take longer. For building up, they describe waiting 3 to 5 hours until the first layer reaches a jelly like stage before the next one goes on.
TotalBoat's Fathom deep pour epoxy is built for the opposite job and publishes up to 2 inches per lift for river tables, slab pours and live edge tables, or 3 inches for suitable castings. Its current instructions specify at least a half gallon of mixed epoxy, so Fathom is not a small-charm formula. Their published pot life is 4 to 6 hours depending on the mass mixed, with demould at a minimum of 48 hours for deeper pours and full cure at 5 to 10 days.
Pouring two inches of a coating epoxy because the internet said epoxy handles depth is how people end up with a cracked, yellowed, hot mess. Read the bottle you bought.
The three things that go wrong
Ratio. ArtResin publishes 1:1 by volume, explicitly not by weight. TotalBoat publishes 2A:1B by volume for Fathom, or 100A:44B by weight. Those are different products with different chemistry and neither number transfers to the other. Eyeballing it does not work, and neither does topping up the cup because it looked a bit short.
Mixing. Unmixed resin clinging to the sides and bottom of the cup never reacts. TotalBoat's instructions for their ThickSet range have you mix for several minutes scraping the sides, then transfer to a clean second container and mix again, precisely because that film on the first cup is the usual culprit behind soft patches.
Temperature. ArtResin publishes a working range of 75 to 85F (24 to 30C) with roughly 45 minutes of working time, and notes that warm temperatures shorten that by around ten minutes. TotalBoat publishes 60 to 80F ambient for Fathom and strongly recommends holding 70F for thicker pours. A cold workspace can slow or prevent the expected cure, and it is the reason people find most surprising.
Where epoxy earns its place:
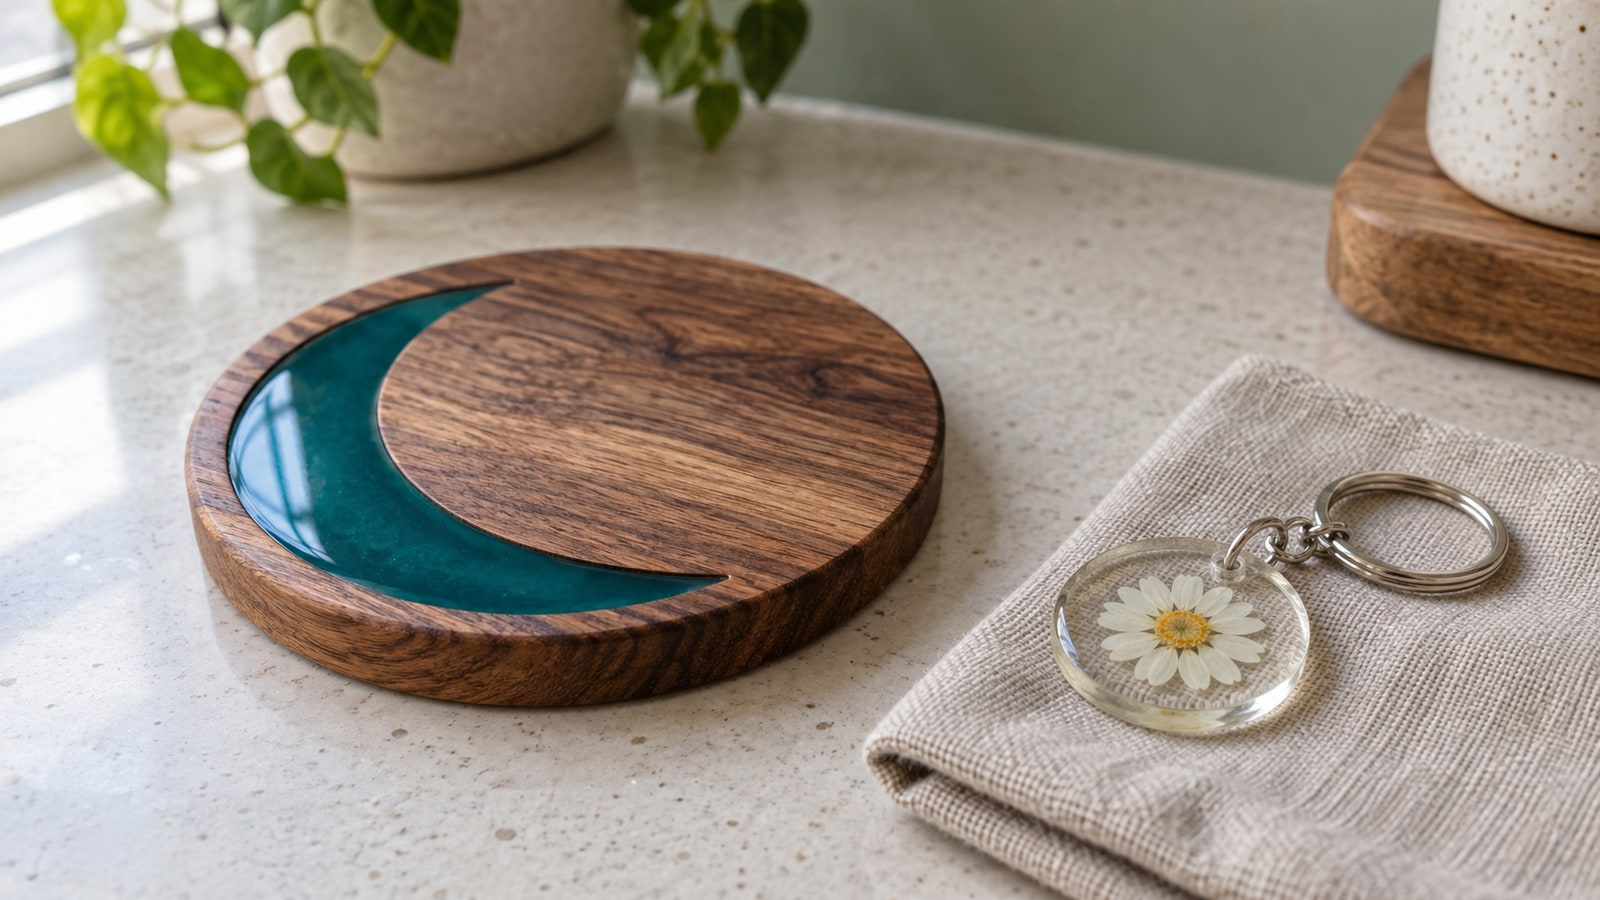
- Filling a carved or engraved recess flush with the surface
- Coasters, trays, boards, tabletops and anything that needs a durable clear top
- River tables and deep castings, with a resin sold for that specific job
- Encapsulating objects such as flowers, coins or fabric in real thickness
Where it will frustrate you:
- Nothing is finished today. Demould times run in days, not minutes
- The workspace has to stay dust free and reasonably warm for the whole cure
- Waste hurts, because you mix a batch and the clock starts whether you use it or not
- Bubbles need managing, and the fixes take practice
Side by side
These are the manufacturers' published figures for specific named products, not measurements we took. Different brands publish different numbers for the same category, so treat this as a shape to recognise rather than a spec for whatever is on your shelf, and follow the instructions that came with your own bottle.
| UV resin (Padico UV-LED range) | Coating epoxy (ArtResin) | Deep pour epoxy (TotalBoat Fathom) | |
|---|---|---|---|
| How it cures | UV light | Chemical reaction | Chemical reaction |
| Published cure time | 30 to 120 seconds per side under a 6 to 9W UV-LED lamp | Dry to touch about 24 hours, full cure 72 hours | Demould from 48 hours, full cure 5 to 10 days |
| Published depth per layer | About 3mm, repeated for 1cm or more | 1/8 inch | Up to 2 inches for slabs; 3 inches for suitable castings, minimum mixed volume 1/2 gallon |
| Mixing | None | 1:1 by volume | 2:1 by volume, 100:44 by weight |
| Published working conditions | Well ventilated space, longer cure for coloured resin | 75 to 85F, about 45 minutes working time | 60 to 80F, 4 to 6 hour pot life |
| Best at | Charms, jewellery, shallow domes | Coasters, boards, filled recesses, flat tops | River tables and larger castings |
Picking by project
A laser cut acrylic or wood keychain you want domed and glossy. UV resin. The coating is a millimetre or two, use the resin maker’s specified lamp and cure schedule, and you can do a whole batch in an evening. Acrylic charms in particular take a resin dome well, and we go into cutting them in the acrylic laser cutting and engraving guide.
An engraved or carved coaster with the design filled flush in colour. Two part epoxy, a coating formula. The recess is shallow but wide, and you want a long enough working time to squeegee the fill in and scrape it level before it sets. Sixty second cure times are a liability here, not a feature.
A deep bezel pendant, 6mm or more. Either, with a caveat. UV resin gets there in 3mm layers with a cure between each, which is entirely workable and lets you suspend inclusions at different heights. A casting epoxy approved for that small volume and depth can do it in one pour, with its own cure schedule. A large-pour product such as Fathom is not the right substitute. Pick based on whether you would rather spend attention or time.
A river table or a live edge slab. Deep pour epoxy, no alternative. This is the job UV resin physically cannot do.
A serving board or bar sign where a carved design is filled with colour and sealed. Epoxy for the fill, and it is worth planning the design around it. Drink themed and bar sign designs suit this treatment because they are usually built from bold, closed shapes with clear internal areas, which is exactly what holds a resin fill cleanly instead of letting it bleed into a hairline.
 Bar And Drink Designs70 designs, commercial license included$3.99
Designing a cut file that fills well
This is the part we can speak to first hand, because drawing the files is what we actually do.
A design destined for a resin fill behaves differently from the same design engraved and left alone. Three things matter more than they do anywhere else:
-
Closed paths. A fill needs a boundary. For an area pocket, closed boundaries define the region to clear. An open engraving line can still form a sealed-bottom groove that holds resin; leakage depends on the physical floor and walls, not simply the SVG path being open. If a file has open paths, fix them first. Our walkthrough is at how to fix open paths in an SVG.
-
Line weight. Thin internal lines look crisp engraved and vanish filled. Narrow grooves are harder to fill and clean up. Their useful minimum width depends on the groove depth, resin viscosity, pigment, tool and final size; there is no universal one-millimetre threshold. This is a reason a design that engraves beautifully can disappoint as an inlay.
-
Island shapes. The middle of an O, the eye of a stencil style design, the counters inside letters. Filled with a contrasting colour these become the strongest part of the piece, but only if they are real closed shapes in the file rather than an artefact of overlapping paths. Layered files usually get this right. Auto traced files usually do not.
None of that changes which resin you buy. It does change whether the finished piece looks like an inlay or looks like a mistake, and it is worth checking before you mix anything.
Safety, honestly
Uncured resin is not benign, and that applies to both types.
Uncured epoxy can cause skin sensitization. Avoid skin contact and read the safety data sheets for both resin and hardener; a population percentage cannot predict an individual’s risk.
Manufacturers publish consistent guidance about how to avoid it. Entropy Resins advises avoiding contact with resin, hardener, mixed epoxy and sanding dust, using effective ventilation ranging from filtration systems down to floor or window fans, and wearing an approved respirator with an organic vapour cartridge where ventilation is not adequate. They single out sanding partially cured epoxy as a hazard not to underestimate, since the dust can contain unreacted components, and they note that a full cure can take more than two weeks at room temperature.
ArtResin's published position is that their formula contains no solvents or VOCs and does not release harmful fumes, and that it meets ASTM D4236. Their own safety guidance still says to wear gloves, avoid eye contact and work in a well ventilated space with air circulation, with a respirator recommended if ventilation is limited.
Padico's published instructions for their UV-LED resin call for clean PVC or nitrile gloves, a well ventilated space, and avoiding direct skin contact, with 15 minutes of rinsing and medical attention if resin reaches the eyes.
Gloves and ventilation, every time, for both. That is what the people who make the stuff say to do.
About yellowing
Clear resin over a pale wood or a white background will go warmer over time, and how much depends on the formula and on how much UV the piece sees.
ArtResin publishes that their formula includes both a UV light stabiliser and HALS, and cites accelerated weathering testing at Atlas Labs comparing them against 16 other resins. Their own write up of that testing notes that every formula in the test yellowed under those conditions, as expected, and that no epoxy resin is ever recommended for deliberate UV exposure.
Read that as a useful expectation rather than a disappointment. Stabilised resin yellows more slowly, not never. A coaster that lives on a side table will outlast a sign that hangs in a south facing window, whichever product you buy. If a piece has to stay perfectly neutral for years in daylight, resin is the wrong finish for it.
What to buy first
If you make small things, buy UV resin and a lamp. It is cheap to start, forgiving of small batches, and it teaches you how resin behaves without a three day feedback loop.
If you make coasters, boards, signs or anything with a filled recess, buy a suitable epoxy and the measuring tools its instructions require, graduated cups for a volume ratio or a scale for an approved weight ratio, and read the ratio on your specific bottle rather than a number from an article. Buy the deep pour formula only when you have an actual deep pour to do, because it is a different product for a different job.
Most makers who stay with resin end up with both on the shelf within a year. They are complementary, not rivals.
Our drink and coffee themed packs are built the way a fillable design needs to be built, with closed paths, weighted lines and real island shapes, and they suit engraved coasters, bar signs and charm sized pieces alike. Every pack is $3.99, includes a commercial license with no unit cap, and ships as SVG, PNG, JPG, PDF and EPS so the same design works on a laser, a CNC or a cutting machine. Browse the whole Food & Home collection and pick the one your next pour is built around.
Designs for this project


Frequently Asked Questions
Can I use UV resin for a deep bezel or a thick charm?
Only in layers. Padico's published instructions for their UV-LED resin say to pour an approximately 3mm thin layer and cure it, then repeat several times for a piece 1cm or thicker. UV resin sets because light reaches it, and light does not reach the bottom of a deep pour, so a single thick pour leaves liquid resin trapped under a cured skin.
Why did my two part epoxy stay tacky?
Almost always ratio, mixing or temperature. ArtResin publishes a 1:1 ratio by volume rather than by weight and a working range of 75 to 85F, and TotalBoat publishes 2:1 by volume for its Fathom deep pour. Different products use different ratios, so the number on the bottle you actually bought is the only one that counts, and unmixed resin clinging to the sides of the cup never reacts.
Which resin should I buy first as a beginner?
Buy for the project in front of you. Small charms, jewellery and a domed coating on something flat point to UV resin and a lamp. Filling a carved recess, coating a coaster or pouring anything with real depth points to two part epoxy. The two are not interchangeable and most makers who do both end up owning both.