Every maker has a version of this story. The material was the good stuff, the last piece of it, and the job ran for forty minutes before you noticed the design was cutting where it should have been scoring. Or half of it never showed up. Or it came out three inches wide when you set it to six.
Almost all of it is avoidable in about two minutes, before the machine ever turns on. What follows is the pre-flight we would run on a file we did not draw ourselves.
Tip
Short answer: open the file in a vector editor, not a preview window. Then check object count, open paths, overlaps, real dimensions, and off-canvas strays. Preview windows show you a picture. Your machine is going to read geometry, and geometry is where the problems live.
Why the preview lies
Not maliciously. A preview renderer has one job, which is to draw what the file describes as an image. Your cutting software has a completely different job, which is to decide where a physical tool goes.
Those two jobs disagree in specific and predictable ways. A hairline stroke renders as a visible line and cuts as nothing, or as two lines, depending on the software. A shape hidden entirely behind another shape renders as invisible and cuts as a full extra pass. An open path renders as a curve and cuts as a slit that goes nowhere.
So the first move is always the same: open the actual file in something that shows you structure. Inkscape is free and does this well, and our Inkscape basics post covers getting started if you have not used it.
The five-check pre-flight
Run these in order. Each one takes seconds and the order matters, because a fix at step one changes what you see at step three.
Check one: how many objects are actually in here
Select everything, then look at what the status bar tells you. You are looking for a number that makes sense for the design.
Inspect the object count in context. A detailed engraving can legitimately contain many shapes, while one compound path can contain many separate cut contours. Look for unnecessary fragmentation or duplicates rather than enforcing one object per layer.
The opposite problem is a design that should have four separate colour layers reporting exactly one object. It may be a group, a compound path or a raster image. Inspect its type before deciding whether the original layer separation can be recovered. Better to find that out now than at the transfer tape stage.
Ungroup once before you judge this. A lot of files are perfectly well built and simply arrive as one group.
Check two: open paths
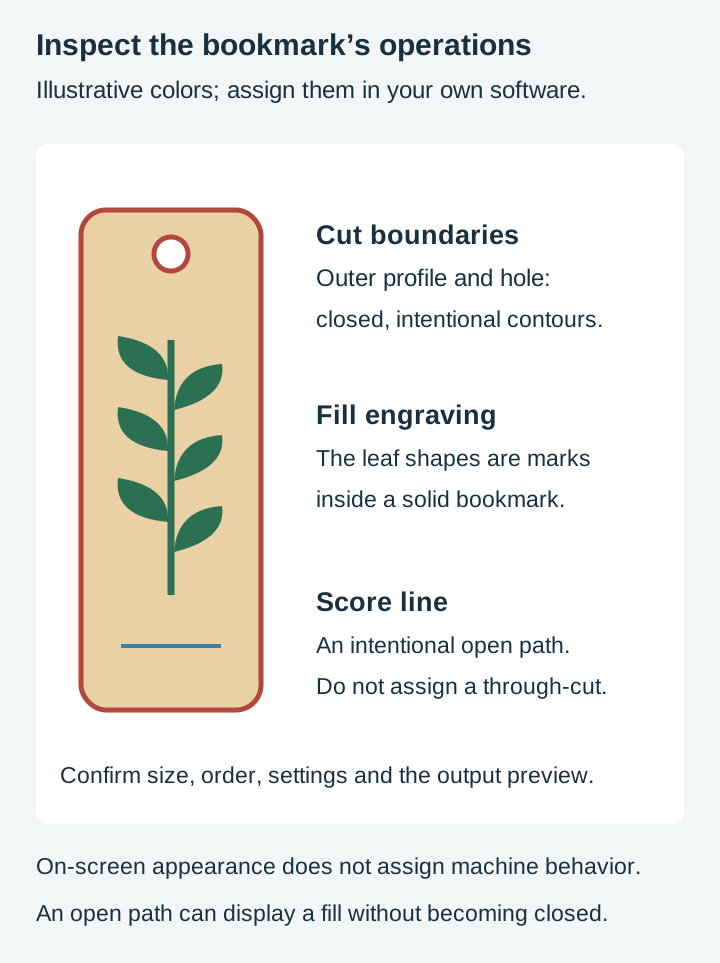
This is the single most common thing that makes software behave inexplicably. A closed path returns to its start and encloses an area. An open path has unjoined ends. It can still render a fill under SVG rules or define an intentional score or slit, so inspect its intended operation.
Different software handles it differently, which is the frustrating part. Some silently close the path for you, sometimes in an ugly way. Some drop it entirely. Some cut a line that goes nowhere.
In Inkscape, switch to the node tool and click the path, then inspect its endpoints and node connections. The status bar helps identify the object and node count. Ignore the old advice about setting a fill and seeing whether anything happens: the SVG specification has renderers implicitly close an open subpath in order to fill it, so an open path will usually display a fill quite happily and tell you nothing. The definitive check is the path data itself, where a closed subpath ends with a Z. We go deeper in the open paths post.
Check three: overlaps and doubles
Two things to look for here.
Stacked duplicates. Someone copied a shape and pasted it exactly on top of itself. Invisible on screen, and your machine cuts the identical outline twice, which on vinyl means a cut over a cut and a piece that lifts. Move the top object aside briefly and see if there is another one underneath.
Genuine overlaps that should be merged. Two shapes that visually form one silhouette but are still two objects. For engraving, grouping and fill rules can make the overlap fill, disappear or process twice. Cut, the blade slices along the buried boundary and splits your piece. Union them before cutting.
Check four: real dimensions and units
Select all, then read the width and height. You want a number that looks like a real object.
If the design opens at an unexpected size, check units, document scale, transforms and stray objects. Correct a known dimension with the aspect ratio locked, then verify another dimension.
Also check the document canvas versus the artwork. A design sitting on an A4 page with a lot of white space around it can import into cutting software with all that empty space included, which makes your placement calculations wrong.
Check five: strays off the canvas
Select all, then zoom to fit the selection rather than the page. If the view suddenly jumps out to show a huge empty area with a single dot in the corner, you have found a stray.
Strays come from cropping, from a tracer that picked up a speck of image noise, or from an errant click. They cost cutting time, they can throw off auto-arrange, and on a laser they can put a mark somewhere you did not want one.
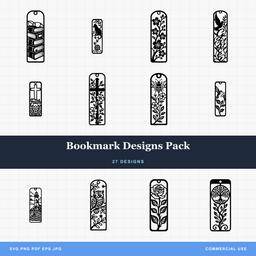 Bookmark Designs Pack27 designs, commercial license included$3.99
The layer check, for anything multi-colour
The five checks above apply to any file. If the design is meant to cut in more than one colour or in more than one operation, there is a sixth, and it is the one that costs the most material when it goes wrong.
What separates the layers? Cutting software groups pieces by something, usually fill colour or stroke colour, and sometimes by named layer. Open the file and find out which. If the application combines shapes by color, assign the intended colors or operations and inspect the resulting layer list. Some applications retain separate objects even when their colors match.
Do the layers stack in the right order? In the file, the last object drawn sits on top. That is usually, but not always, the order you want to apply the vinyl in. Check that the piece meant to sit on top is actually on top, because discovering it during transfer means recutting the whole set.
Do the layers register? Check whether the intended construction uses overlap, shared edges or a deliberate gap. Material thickness and transfer tolerances can affect the result. A gap that is invisible on screen becomes a white line on the finished piece, and it is much easier to close in the file than to compensate for during application.
Is there a separate score or engrave layer? Some files carry a fold line, a registration mark, or an engrave pass as its own colour. If you do not spot it, your machine will happily cut it. This is the single most common way a good file produces a ruined piece: a scoring line cut all the way through.
Colour is doing a lot of work in a cut file, and it usually has nothing to do with what colour you plan to make the thing. It is an instruction. The multi-layer designs guide covers how those conventions differ between programs.
Format matters too
An SVG is the easy case. Other formats bring their own things to check.
PDF support varies more than people expect. Cricut Design Space does not accept PDF uploads at all, while Inkscape and most laser software open them without complaint. Where it does import, a PDF often arrives with a clipping path or a bounding box around the artwork, which shows up as a rectangle your machine wants to cut. Delete it before you start.
DXF can store arcs and other curved entities, including arc segments inside polylines. Some exporters instead approximate curves with straight segments. Unit metadata and importer interpretation also vary, so check a known dimension. Our SVG to DXF post covers the round trip in both directions.
EPS is generally well behaved but is old enough that some software handles transparency and clipping unpredictably. Check for stray hidden objects.
PNG or JPG contain pixels, not paths. Some software will build paths from them for you, and Cricut Design Space will convert an uploaded raster image into cut shapes, but what you get back is a generated path rather than a drawn one. That makes the node check above matter more here than anywhere else.
Our file formats explainer covers what each one is genuinely for.
The thirty-second version
Once you have done the full pass a few times, most files collapse to this. Here is a design-side triage list drawn from how we build and inspect files, not measurements from machines we own, so use it as a way to prioritise and test on your own material.
| What you see on import | What it usually means | Do this |
|---|---|---|
| One object where you expected layers | Flattened, or grouped | Ungroup first, then check again |
| Suspected unjoined contour | Open ends or compound-path structure | Inspect nodes and the intended operation |
| File is several MB for one design | Node bloat, usually from tracing | Check node count, simplify or find a cleaner source |
| Curves look faceted when zoomed | Polylines pretending to be curves | Redraw or refit the curves |
| Design opens at an absurd size | Units lost in export | Scale to real size and inspect the rest closely |
| Cut preview shows lines you cannot see | Hidden or stacked objects | Delete duplicates, check for buried shapes |
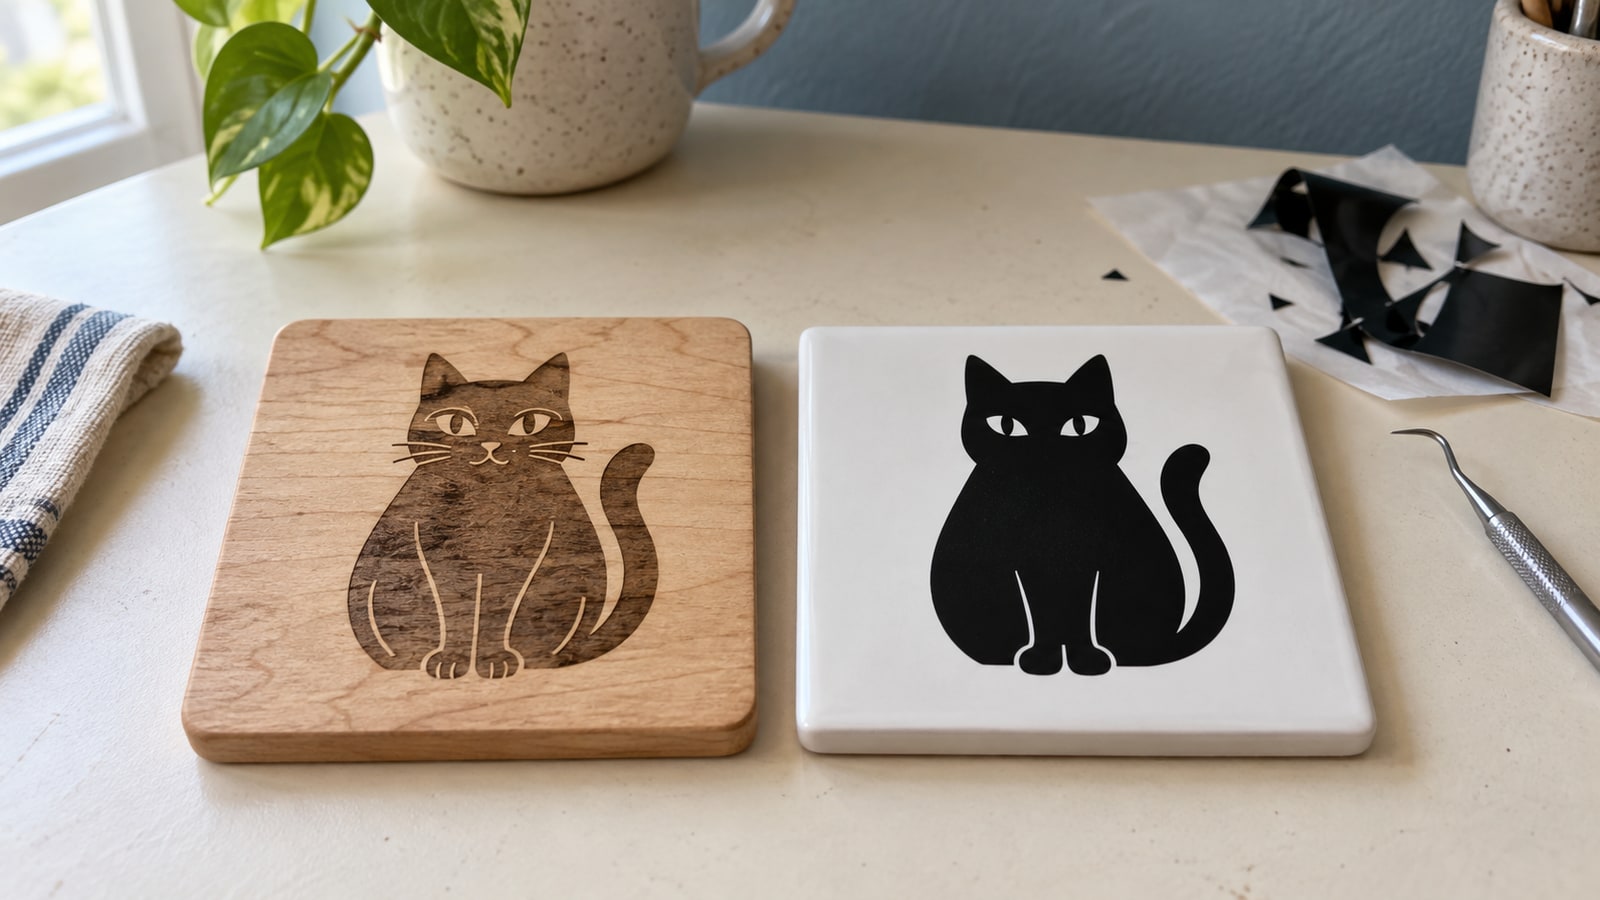
| Thin internal detail everywhere | Built for engraving, not cutting | Use the silhouette version, or scale up |
That last row deserves its own article and got one: why a design cuts beautifully on wood and fails on vinyl.
What a well-built file looks like
It is worth knowing what you are aiming at, because the checks above are all negative and it helps to have the positive version in mind.
A prepared file has closed boundaries for pieces that need them, intentional open scores or slits, no unwanted duplicate contours or strays, appropriate curves and dimensions, and a clear assignment of operations.
That list is the actual job of building a design pack. Not the drawing, which is the fun part, but the structural pass afterwards where you close every path, merge every overlap, and delete the leftovers. It is invisible when it is done right, which is exactly why so many cheap files skip it.
When to bother, and when not to
Do not run five checks on every file forever. That is a recipe for never cutting anything.
Always check a file that is new to you, free from an unfamiliar source, converted from another format, traced from an image, or about to be cut into material you cannot easily replace.
Shorten it for a previously successful file. Still confirm size, placement, material, operations and the final preview, particularly if anything has changed.
Check partially when something specific feels off. Software lagging on import points at node count. An unexpected fill calls for checking path structure and fill rules. A piece falling apart mid-cut points at overlaps.
One habit worth more than the checklist
Cut a test piece of the most difficult part of the design.
Not the whole thing. Not a nice representative sample. The single most detailed corner, at the exact size you intend, on the exact material. It uses a small piece of material, and it is the only check on this page that tests the file, the machine, the blade, and the material all at once.
Everything else here tells you whether the file is well built. That tells you whether this file, on this machine, on this material, at this size, is going to work. Our test cuts post covers the material side of the same idea.
Where to start
If you want files that pass their own pre-flight, that is the part of a design pack we actually control. Every design ships as SVG, PNG, JPG, PDF, and EPS, with geometry prepared for the listed uses. Confirm any intentional score paths, material choice and operation assignments before cutting.
Browse the full catalogue at $3.99 a pack, commercial license included with every purchase and no cap on how many physical products you sell.
Designs for this project
Frequently Asked Questions
How do I check an SVG before cutting it?
Open it in a vector editor rather than a preview window, then check five things: how many objects it actually contains, whether any paths are open, whether shapes overlap where they should be merged, what the real dimensions are, and whether anything is hiding off canvas. It takes about two minutes and catches most problems while you have not spent material yet.
Why does my SVG look different in Cricut Design Space than in the preview?
Preview windows render the picture. Cutting software interprets the geometry. Strokes, hidden objects, unclosed paths, and grouped layers all show up differently once software is deciding where a blade goes, so the two views legitimately disagree.
What does it mean when a design imports as one layer instead of several?
Usually the file was flattened, or every shape shares one fill colour so the software has nothing to separate on. Sometimes the layers are there but nested inside a group and need ungrouping first. Try ungrouping before you conclude the file is wrong.
Should I check node count on every file?
No. Check it when something feels wrong: the file is unexpectedly large, the software lags when you import it, or curves look faceted. A clean file from a maker who builds cut files does not need auditing every time.
Does the size shown in the file matter if I am going to resize anyway?
It matters as a sanity check. If a design opens at 400 inches wide or 0.2 inches wide, something went wrong in export and the units are being misread, which often travels with other problems. A file that opens at a sensible size was probably saved by someone paying attention.